Couchbase Mobile allows you to build applications that are always available both for online and offline experiences so you can focus on building out engaging user features. The mobile solution consists of 3 components: Couchbase Lite, Sync Gateway, and Couchbase Server. The Couchbase Server bucket acts as the persistent storage for all database documents while Sync Gateway enables the Server to act as a replication endpoint for Couchbase Lite. Embedding the small footprint Couchbase Lite framework into your application project is simple and will allow you to have great syncing features with a flexible embedded JSON database that can work standalone or as a remote endpoint for Couchbase Server.
In this tutorial series, we will first go through setting up Couchbase Server to host the instance in the cloud and connect Sync Gateway. This can also be done locally in your development environment though in this tutorial I will use Digital Ocean as our cloud solution to emulate a production scenario.
Create a DigitalOcean Account by clicking on “SIGN UP” over at DigitalOcean
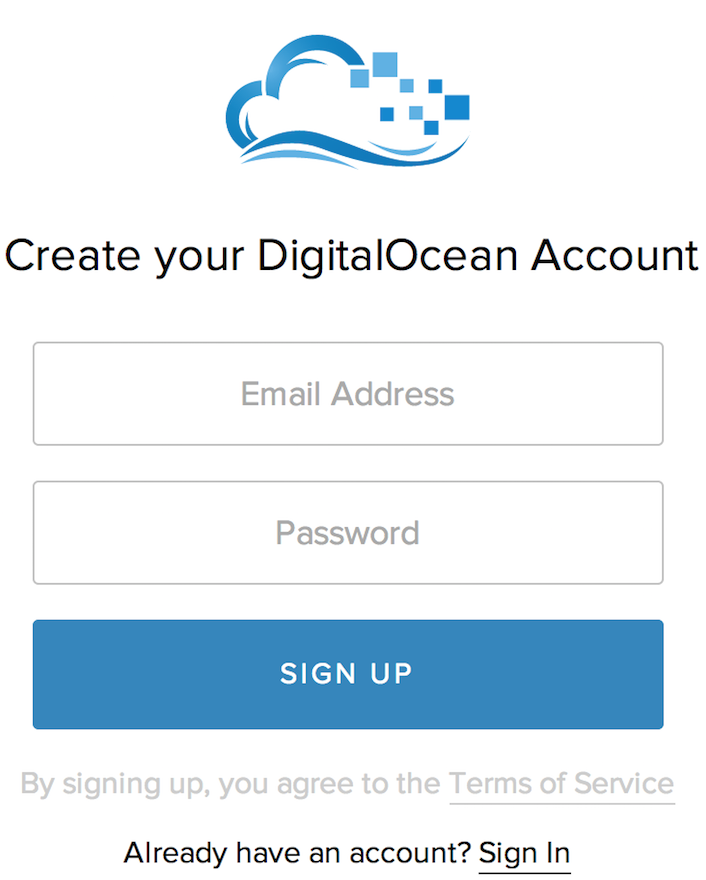
Enter an Email Address along with a desired Password and then confirm in your email inbox.
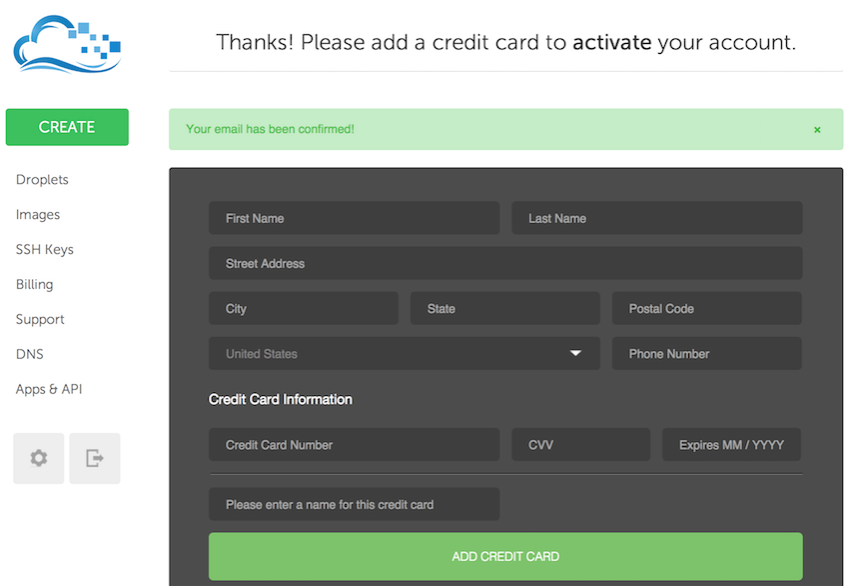
After you have confirmed your email, enter credentials to activate the account for hosting.
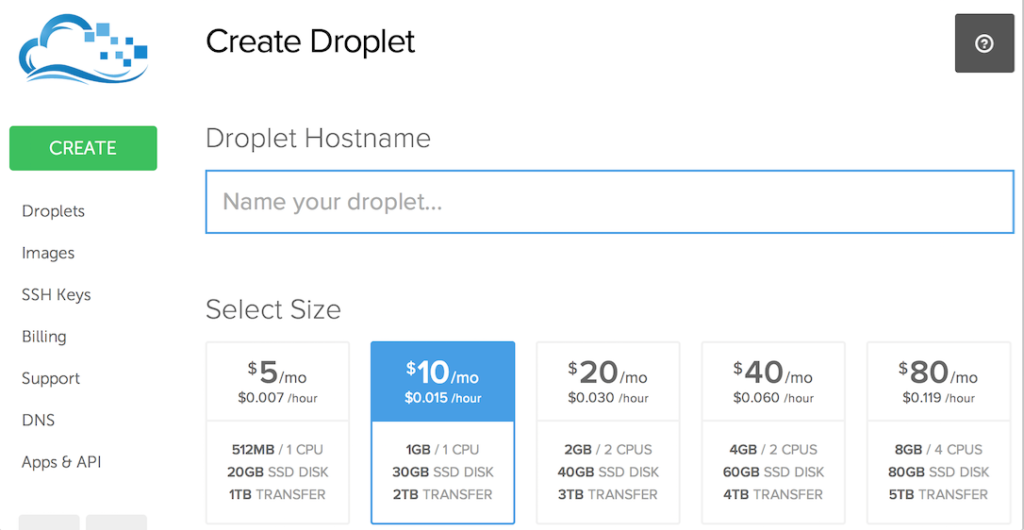
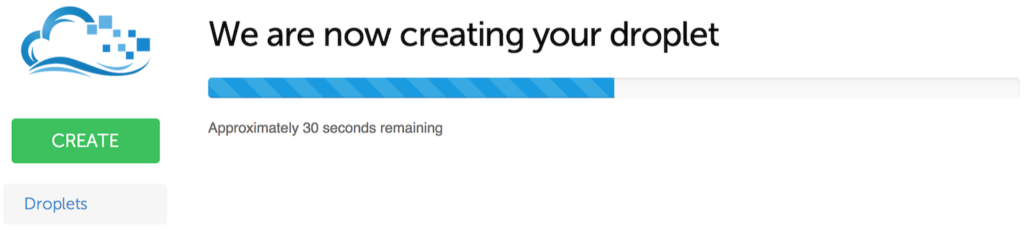
Create Droplet by providing a Hostname and selecting a size. The 2GB and 2CPUs option is the minimal recommended choice.
Sip on that cup of coffee while your Droplet is being created
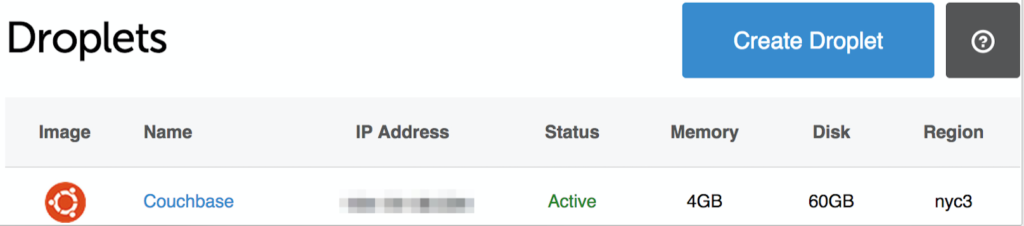
The Droplet I have setup is the 4GB RAM/2 CPUs with default settings in New York 3 region running on Ubuntu 14.04 64-bit
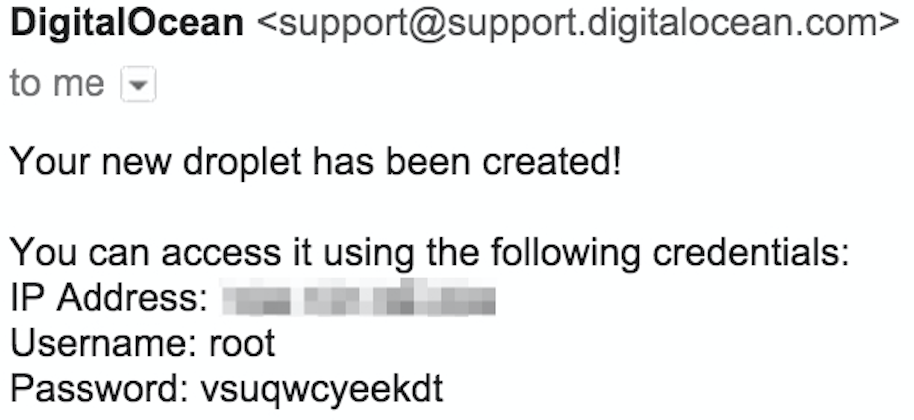
Upon creating the Droplet, check your email for your Droplet’s IP Address, Username, and Password credentials. You would need these values shortly to log into your Droplet and install Couchbase Server.
On your MAC, open the Terminal application and establish the SSH connection to your DigitalOcean Droplet by entering the command:
|
1 |
ssh '<em>Username</em>'@'<em>IP Address</em>' |
and replacing the respective credentials with the ones received from the email. Here the Username is ‘root’ as provided in your email.
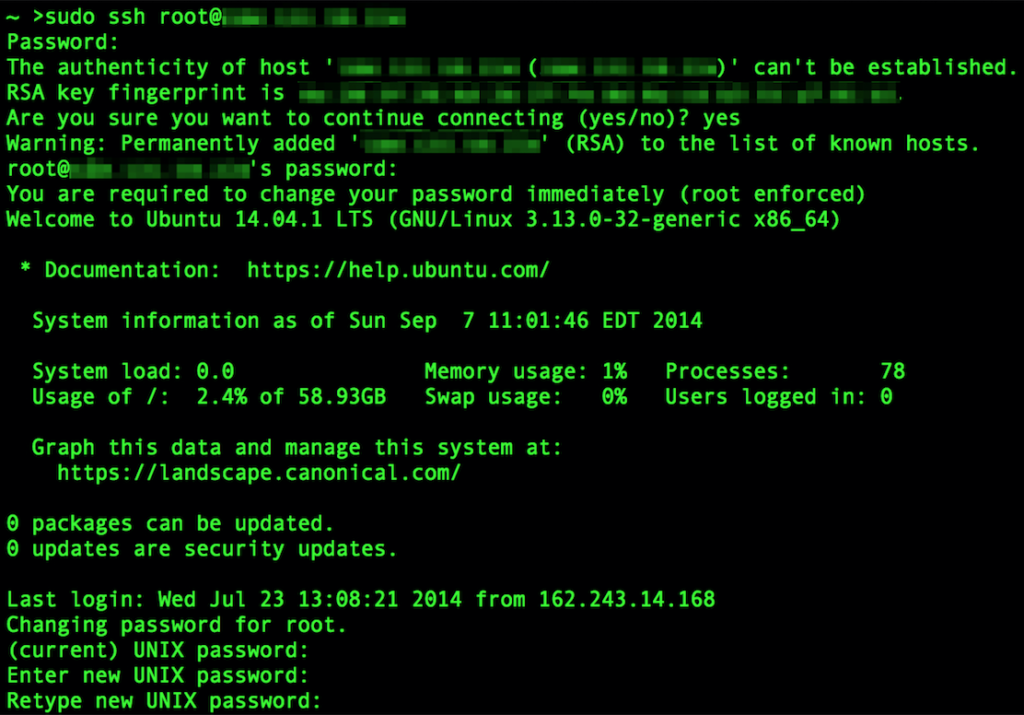
After connecting with the Droplet for the first time, you will be asked to change your UNIX password much like the above. Select a password and re-enter your credentials a second time.
For additional security, change default ‘root’ username to another by executing:
|
1 |
adduser 'new user name' |
replacing ‘new user name’ to a name of your liking. Now the hostname will associate a non-default username that you entered as its actual root as oppose to being named ‘root’.
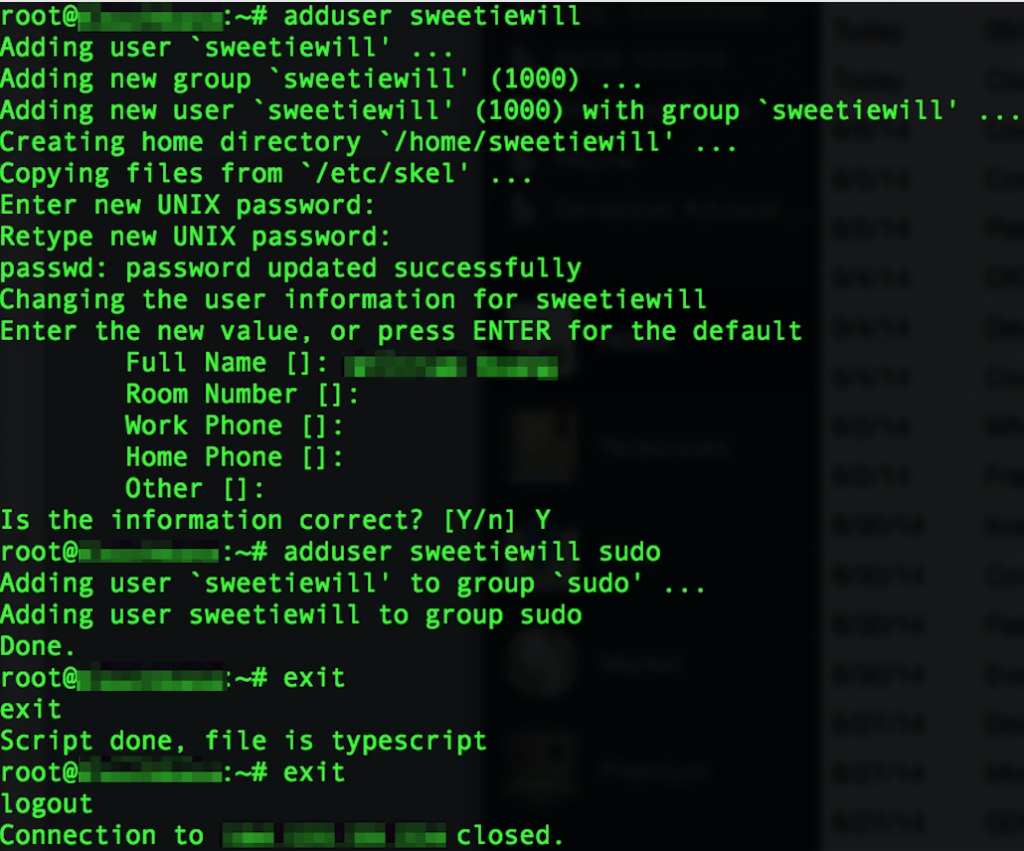
Exit the instance by typing ‘exit’ to logout. Then log back into your Droplet with the new username to the same IP Address.

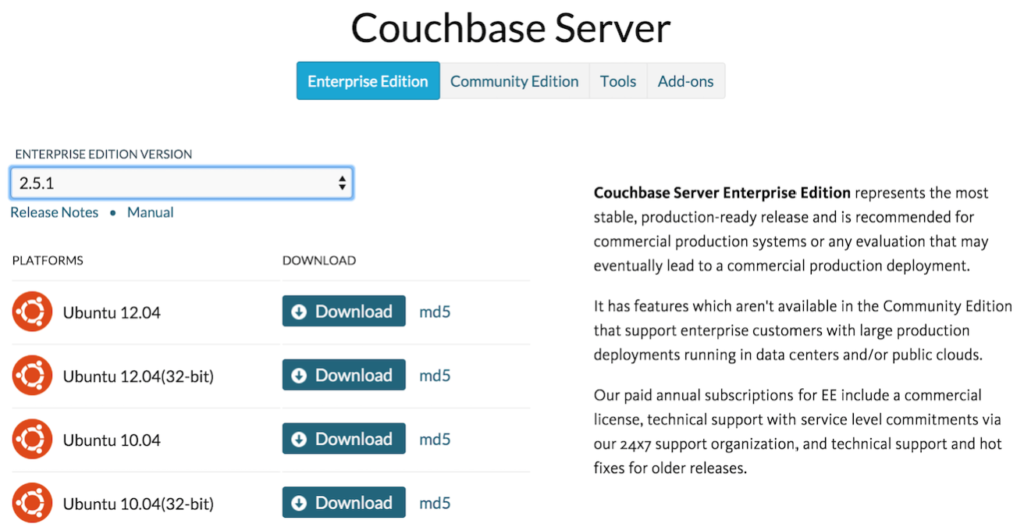
Now we are ready to download Couchbase Server and Sync Gateway to our Droplet. For my instance in this tutorial, I am using version 2.5.1 Enterprise Edition for Ubuntu 12.04 which is the 64-bit Release. From the Couchbase Download page, right click and copy the link of the appropriate build.
From within your droplet, execute a ‘wget’ command on the Couchbase Server .deb file. At the time of writing, the URL for my build is located at: https://packages.couchbase.com/releases/2.5.1/couchbase-server-enterprise_2.5.1_x86_64.deb and thus the command within Terminal would be:
|
1 |
wget https://packages.couchbase.com/releases/2.5.1/couchbase-server-enterprise_2.5.1_x86_64.deb |

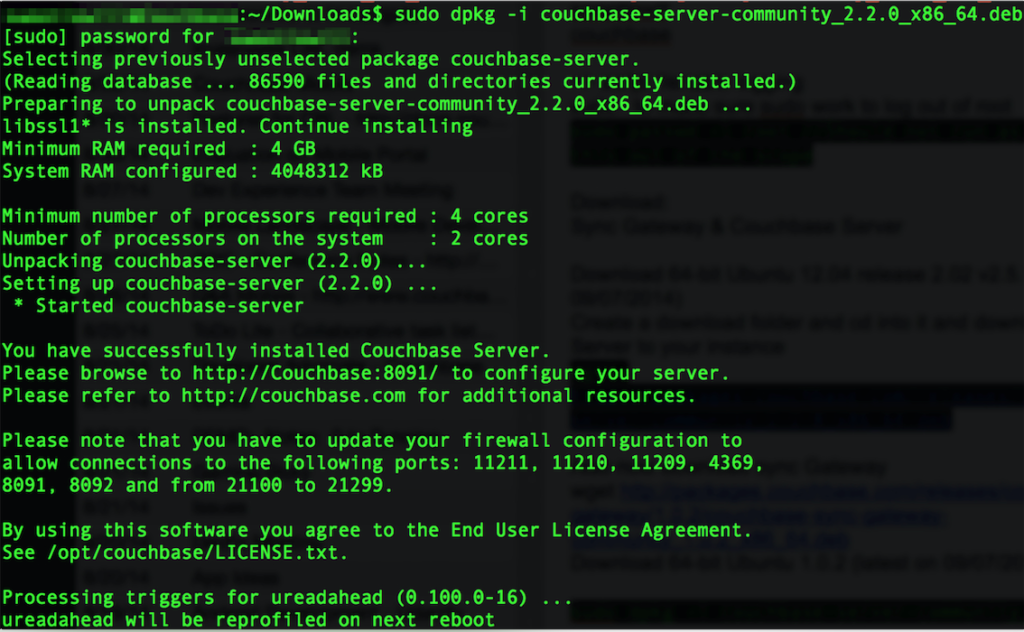
With the ‘deb’ package file downloaded, we can install Couchbase Server by using the ‘dpkg’ command as a privileged user under sudo. Do not mind the number of processors on the system not matching the minimum required as this is purely for development purposes and can be changed later.
|
1 |
sudo dpkg -i couchbase-server-enterprise_2.5.1_x86_64.deb |
Before configuring our Couchbase Server, we will go ahead and download Couchbase Sync Gateway. Head over to the Couchbase Download page again and toggle the top level selection to be Couchbase Mobile now in stead of Couchbase Server.

You will see Couchbase Sync Gateway and Couchbase Lite software for various platoforms. Right click and copy the link of the appropriate build. I am using version 1.1.1 Enterprise Edition 64-bit Ubuntu 12.04 Release for this example.

Similar as to before, we now execute the ‘wget’ command on the Couchbase Sync Gateway file from within our Droplet. At the time of writing, the URL for the Sync Gateway build is located at: https://packages.couchbase.com/releases/couchbase-sync-gateway/1.1.1/couchbase-sync-gateway-enterprise_1.1.1-10_x86_64.deb
|
1 |
sudo dpkg -i couchbase-sync-gateway-enterprise_1.1.1-10_x86_64.deb |

Now we are ready to configure our Couchbase Server. In the next tutorial, we will go over the Couchbase Server web admin console to configure the instance created on DigitalOcean.
test
Thanks for sharing
And where is the next blog post?
Hello, where is the second part?