NSProgress is an object in Foundation that represents the completion of some work. That work could be downloading a file, installing an app or something your own application is doing.
The NSProgress exists to let you easily report progress in your application across various components both for the UI and the system. With Couchbase Mobile, data is exchanged by initiating replications and with those come change events that can inform you of the progress.
In this tutorial, you’ll import data from the Google Places API to Sync Gateway and replicate them to an iOS app.
> https://developers.google.com/places/
Along the way, you’ll learn how to:
- Use the Sync Gateway Admin REST API to import data from an external source.
- Setup a pull replication with the iOS SDK.
- Use replication change notifications to display a progress bar in the UI.
Let’s get started!
Getting Started
To use the Google Places API in this tutorial, you will first create a new project in the Google Developer Console and then generate a Server API Key.
Open the Google Developer Console and log into your account:
> https://console.developers.google.com
Create a new Project called City Explorer:
Once the new project appears in the list, click on it and navigate to APIs & auth > APIs in the left navigation drawer. Enable the Google Places API Web Service.
Once enabled, go to the Credentials tab in the left navigation drawer, create a new Key (Server key) and copy down the API key as you will need it throughout this tutorial.
In the next section, you will use a couple libraries and the Admin REST API to sync the Places data to Sync Gateway.
Sync Gateway
Download Sync Gateway and unzip the file:
> https://www.couchbase.com/nosql-databases/downloads#Couchbase\_Mobile
You can find the Sync Gateway binary in the bin folder and examples of configuration files in the examples folder. Copy the basic-walrus-bucket.json file to the root of your project:
|
1 2 3 |
$ cp /Downloads/couchbase-sync-gateway/examples/basic-walrus-bucket.json /path/to/proj/sync-gateway-config.json |
Start Sync Gateway:
Open the Admin Dashboard to monitor the documents that were saved to Sync Gateway.
> https://localhost:4985/_admin/
In the next section, you will write a small NodeJS app with the RxJS and Request modules to import the Places data to Sync Gateway.
Places API → Sync Gateway
Before you start scripting the app server, check that your API Key is working correctly, open the following url in your browser, you should see the JSON response.
> https://maps.googleapis.com/maps/api/place/textsearch/json?query=restaurants+in+London&key=API_KEY
NOTE: Don’t forget to add your API Key in the URL.
To build the app server that will import the data from the Places API to Sync Gateway, you will use RxJS and Request. Code that deals with more than one event or asynchronous computation gets complicated quickly. RxJS makes these computations first-class citizens and provides a model that allows for readable and composable APIs to deal with these asynchronous computations. The Request module is the de-facto library to make http requests in NodeJS simpler than ever. Go ahead and install the dependencies:
Copy requestRx.js from the GitHub repo to your project folder. We’re simply wrapping the Request api in RxJS constructs (flatMap, filter, subscribe…). For example, instead of using request.get, you will use requestRx.get.
Create a new file called sync.js, require the requestRx and Rx modules. Define a couple constants:
NOTE: You will use the JavaScript ES 6 syntax (more specifically string interpolation and arrow functions) which will make your program shorter and more readable.
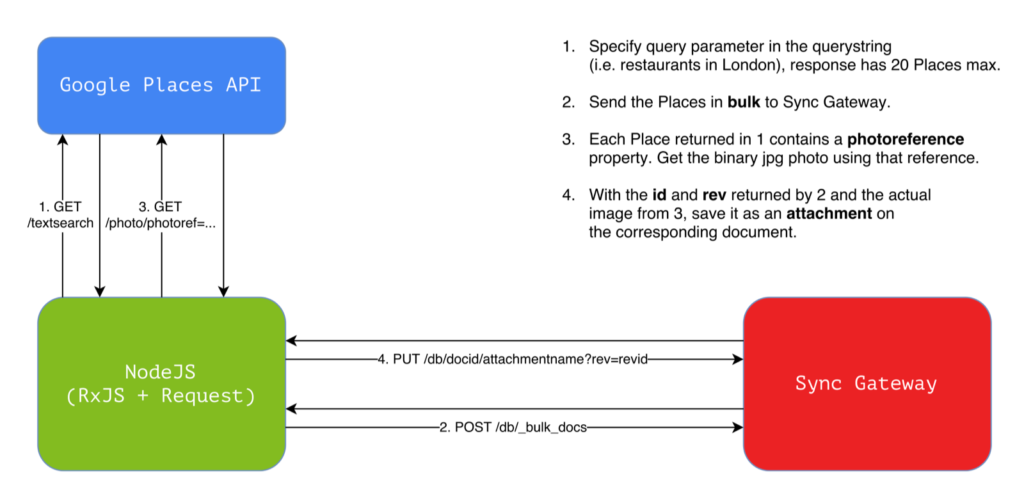
Next, use the requestRx method to follow the chain of requests describe in the diagram.
If you are wondering how to use Reactive Extensions, I strongly encourage you to follow this tutorial. It will take a couple hours to complete but you will come out of it with a very clear understanding of Reactive Extensions.
This might be a lot to take in but the best think to do is experiment with the different operators (flatMap, zip, subscribe, fromArray):
|
1 2 3 4 5 6 7 8 9 10 11 12 13 14 15 16 17 18 19 20 21 22 23 24 25 26 27 28 29 30 31 32 33 34 35 36 37 38 39 |
// 1. Search for Places requestRx.get(`${url}/textsearch/json?key=${api_key}&query=restaurants+in+london`) .subscribe((res) => { var places = JSON.parse(res.body).results; var placesStream = Rx.Observable.fromArray(places); // 2. Send the Places in bulk to Sync Gateway requestRx({uri: `${gateway}/_bulk_docs`, method: 'POST', json: {docs: places}}) .flatMap((docsRes) => { var docsStream = Rx.Observable.fromArray(docsRes.body); // Merge the place's photoreference with the doc id and rev return Rx.Observable.zip(placesStream, docsStream, (place, doc) => { return { id: doc.id, rev: doc.rev, ref: place.photos[0].photo_reference } }); }) .flatMap((doc) => { // 3. Get the binary jpg photo using the ref property (i.e. photoreference) var options = { uri: `${url}/photo?key=${api_key}&maxwidth=400&photoreference=${doc.ref}`, encoding: null }; return requestRx.get(options) .flatMap((photo) => { // 4. Save the photo as an attachment on the corresponding document return requestRx({ uri: `${gateway}/${doc.id}/photo?rev=${doc.rev}`, method: 'PUT', headers: {'Content-Type': 'image/jpg'}, body: photo.body }) }) }) .subscribe((res) => { }); }); |
- Get the Places that match the query
restaurants in London. Use the ES 6 string interpolation feature in the url. - The
_bulk_docsendpoint is very convenient for importing large datasets to a Sync Gateway instance. Read more about it in the docs. - After saving the document, you save the photo as an attachment, you must first get the image from the Places API. Notice the
encodingproperty is set tonull. This is required by the Request module for any response body that isn’t a string. Read more about it in the Request docs. - You must tell Sync Gateway which document (by specifying the document id) and revision of that document (by specifying the revision number) to save this attachment on.
To run your NodeJS app written with the JavaScript ES 6 syntax, you can use Babel. Install it and run it with the sync.js file:
Now that you have documents including images stored in the in-memory bucket of Sync Gateway, you will start coding the iOS app to include a progress bar managed by the replication change notification.
iOS application
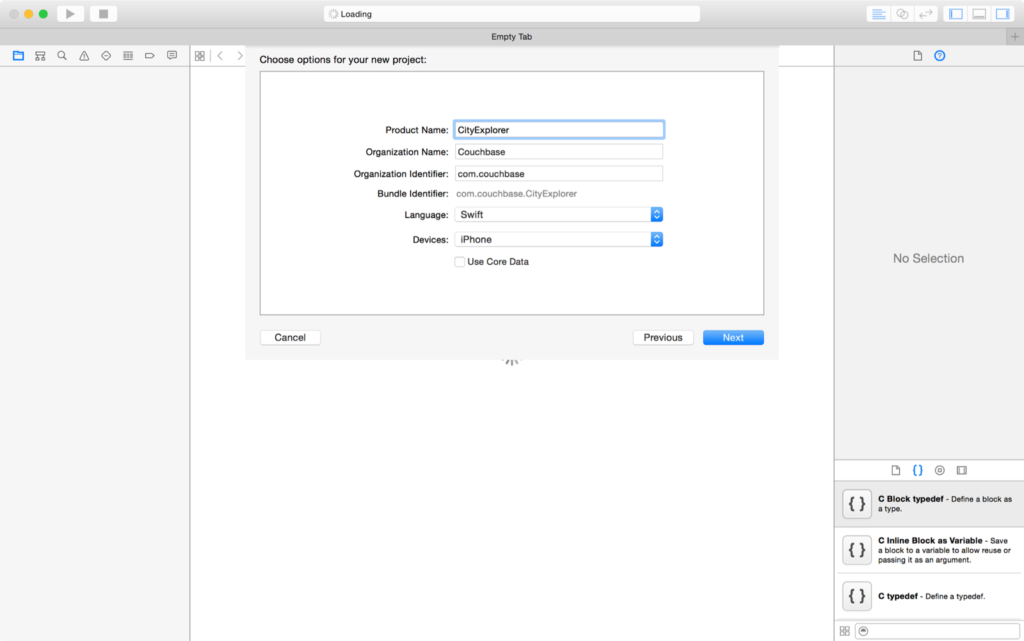
In Xcode, create a new Single View Application called CityExplorer:
Close the project and install the Couchbase Lite iOS SDK via Cocoapods:
Add the dependency to the Podfile in the root of the project, then run install:
Open CityExplorer.workspace this time and create a bridging header:
Navigate to build settings to add the bridging header:
Open ViewController.swift and add a property pull of type CBLReplication?. In the viewDidLoad method, add the following:
A couple of things are happening above:
- You get the shared instance of the manager.
- With the manager instance, you delete the content of the database. This will ensure that the replication starts from scratch every time you run the app.
- You instantiate a pull replication and register as an oberserver on the notification named
kCBLReplicationChangeNotification. - You start the replication.
And add the replicationProgress method to simply log the changesCount and completedChangesCount properties:
In the next section, you will add a progress view in the Storyboard, then will connect it to the View Controller.
Progress Bar
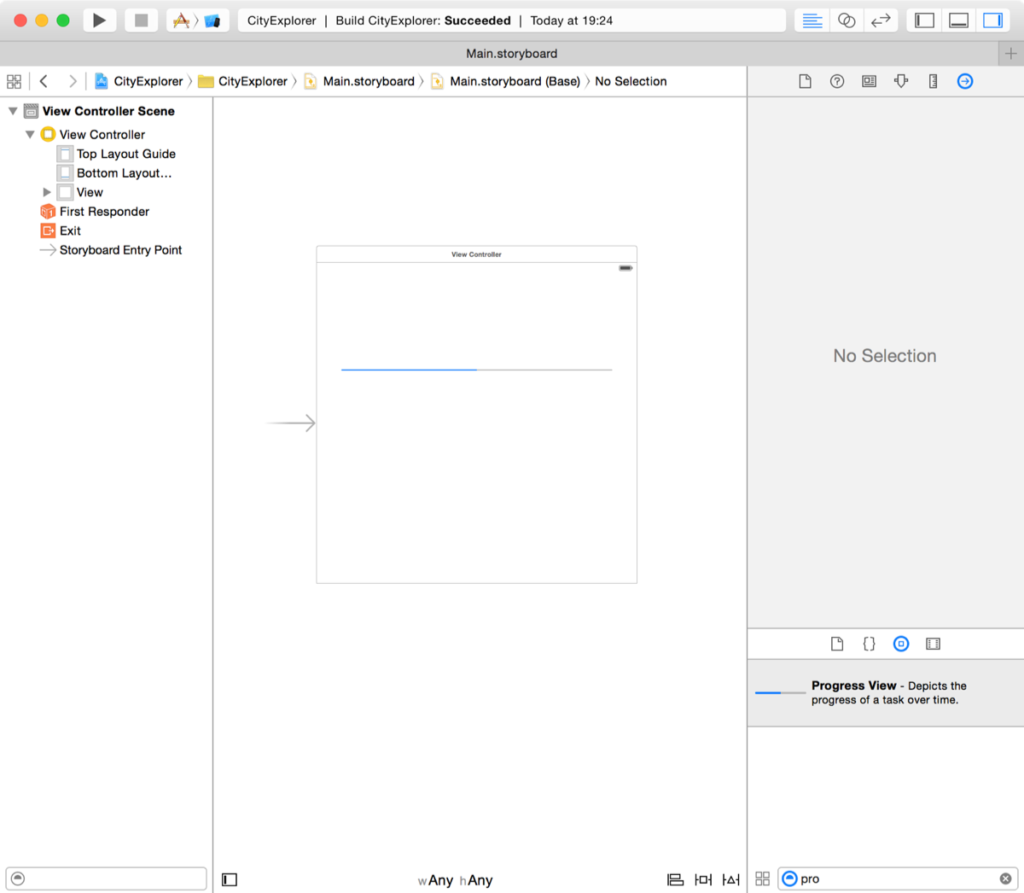
In the Storyboard, add a Progress View in the centre of the View:
Connect the UI handle to the controller property:
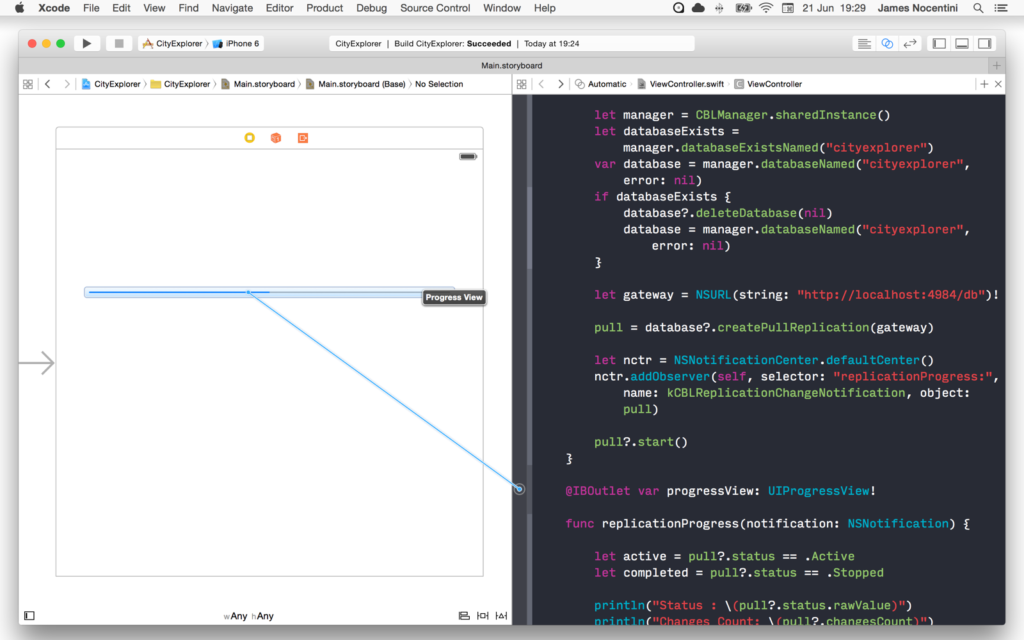
In the replicationProgress method, update the progressView’s progress property accordingly:
|
1 2 3 4 5 6 7 8 9 10 11 12 13 14 |
let active = pull?.status == .Active let completed = pull?.status == .Stopped println("Status : \(pull?.status.rawValue)") println("Changes Count: \(pull?.changesCount)") println("Completed Count: \(pull?.completedChangesCount)") println("======") if pull!.changesCount > 0 { let number = Float(pull!.completedChangesCount) / Float(pull!.changesCount) self.progressView.progress = number } |
Run the app and you should see the progress bar updating as the documents are replicated:
You can run the sync.js script a couple times to have more documents to pull. The Places API returns a maximum of 20 results in one response.
Conclusion
In this tutorial, you learned how to set up a project to use the Google Places API and a NodeJS program to import data as documents and attachments in Sync Gateway. You also used the NSNotification api on iOS to register for the kCBLReplicationChangeNotification notification and update the progress view in your iOS application.