
New Release
Couchbase Mobile is a developer-friendly and AI-ready embedded database for offline-first mobile, IoT, and web apps, with SQL support, built-in sync, and vector search from cloud to edge. Build AI-powered apps that are always fast and available, with or without the internet.

Guarantees low latency and lightning-fast data access regardless of internet speed and bandwidth, essential for real-time applications.

Ensures uninterrupted access to data, regardless of internet connectivity, to provide reliable user experiences and 100% business uptime.

Secures data in motion and at rest with encryption and fine-grained access control, and ensures compliance with data privacy regulations.
Scale AI applications, reduce cost per query, and alleviate privacy concerns with vector search at the edge.
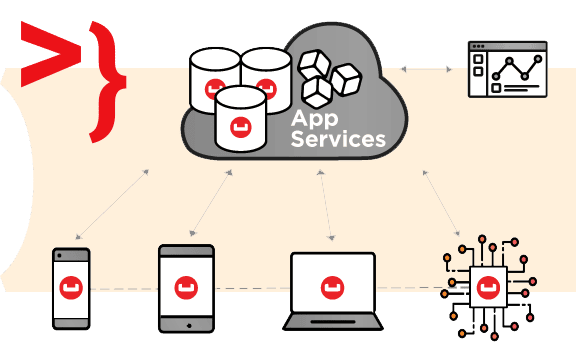
Couchbase Mobile embeds data processing and vector search directly into applications, and synchronizes data from cloud to edge and between devices – even without an internet connection – to deliver the fastest, most reliable AI-powered apps.

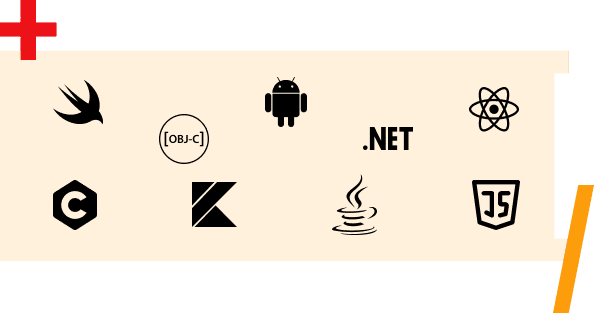
Couchbase Lite stores data on mobile, IoT, and web, supports CRUD and SQL, and runs across all major platforms.
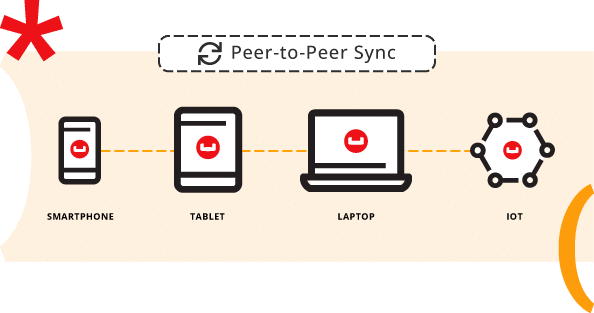
Couchbase Mobile includes a secure gateway for data sync over the web and peer-to-peer sync between devices.

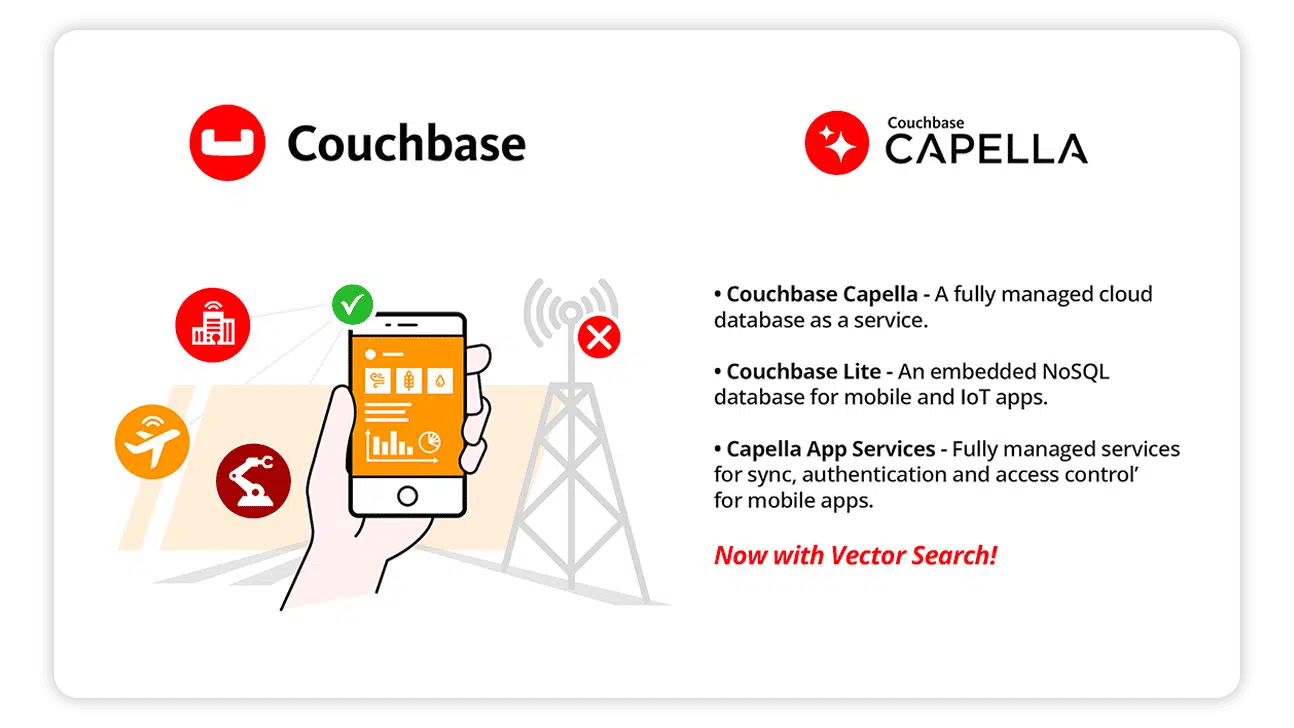
Vector search is available in the cloud with Capella, and at the edge with Couchbase Lite.
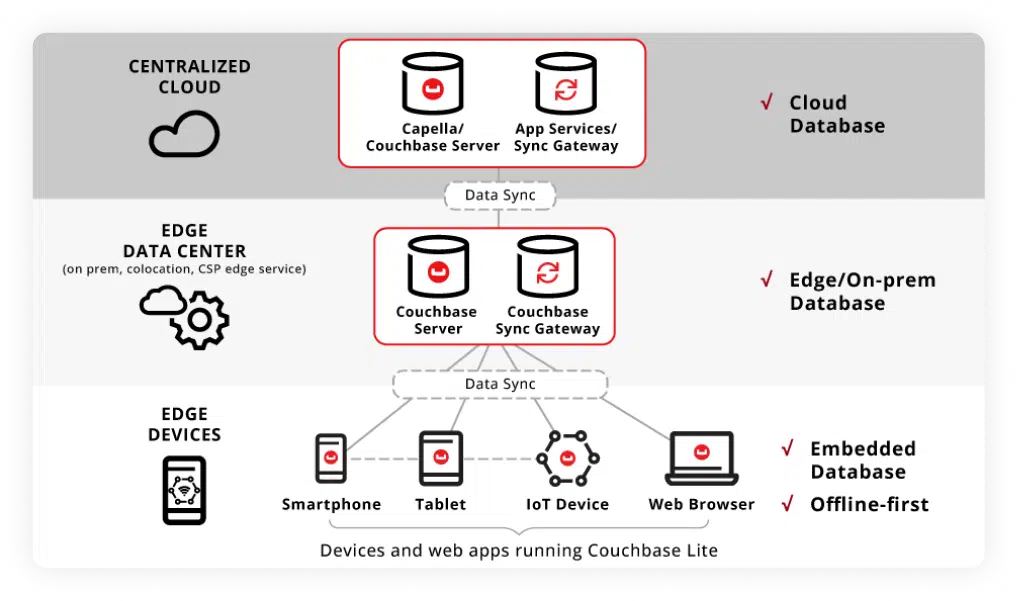
Couchbase Mobile provides a unified platform that includes:
Cloud database for mobile apps
Use Couchbase Capella, our hosted Database-as-a-Service, or install and manage Couchbase Server on your own public or private cloud.
Edge-ready database
Deploy Couchbase Server at the edge to support thousands or more edge clients. For resource-constrained edge environments with a few hundred local clients, you can deploy Edge Server.
Embedded mobile database
Couchbase Lite is the embeddable version of Couchbase for mobile and IoT apps that stores data locally on the device.
Secure mobile data sync
Choose hosted data sync with Capella App Services, or install and manage Couchbase Sync Gateway yourself. Enable seamless failover and multi-region resiliency with XDCR services in the cloud.


“We need to have a robust supply chain as well as a good frontline sales application to be able to manage the orders and deliver products.”

“With Capella, millions of players are able to have a consistent experience without any disruptions. These capabilities are critical for us.”

“The Couchbase sync capabilities are very impressive. Teams can test multiple players simultaneously, then sync a large amount of data seamlessly.”

“Our digital showroom concept completely reimagines the traditional buying approach and establishes a new fashion industry benchmark for sales.”


Check out our developer portal to explore NoSQL, browse resources, and get started with tutorials.

Get hands-on with Couchbase in just a few clicks. Capella DBaaS is the easiest and fastest way to get started.

Want to learn more about Couchbase offerings? Let us help