In the ever-evolving landscape of cloud computing and database management, seamless integration between data management platforms and cloud services is paramount for businesses looking to leverage the full potential of their data. Google Cloud’s Couchbase connector, a pivotal component of its application integration services, stands at the forefront of this technological advancement.
Designed to bridge the gap between Couchbase, a leading NoSQL database, and Google Cloud’s robust ecosystem of native solutions, this connector facilitates secure, efficient, and scalable data synchronization and management.
For example, by integrating Couchbase Capella with Google BigQuery, a retail company can leverage Couchbase Capella’s operational capabilities for data collection and management, while utilizing BigQuery’s powerful analytics engine to perform complex queries and generate insights at scale. Couchbase Capella serves as the operational database managing real-time data ingestion, updates, and retrieval, enabling the application to deliver high performance and personalized experiences.
This blog post aims to guide you through the process of using the Couchbase Connector within Google’s Integration Service, specifically focusing on Couchbase Capella.
Configuring the Capella Database
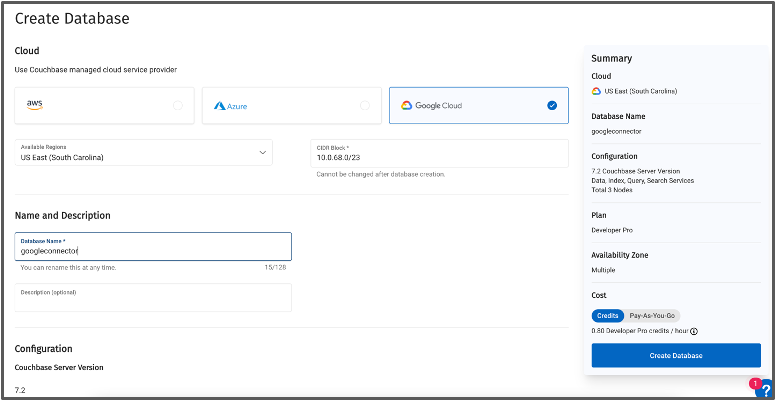
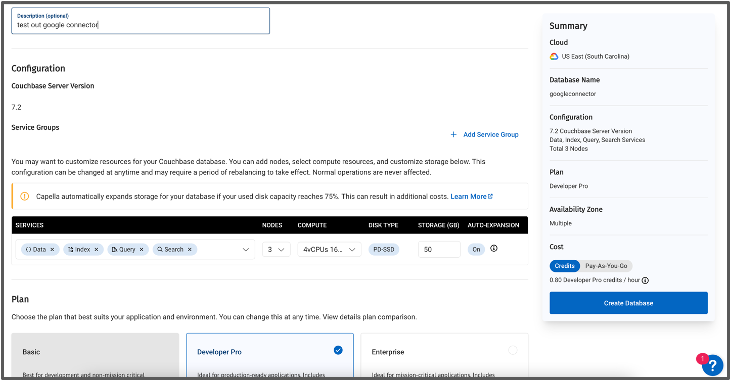
It is very simple to spin up a Capella database. Log in to your Capella Account and select the blue + Create Database button on the right hand side. Next, choose Google Cloud as the cloud provider, select a region, add your CIDR range and database name, choose a plan type and click on Create Database.
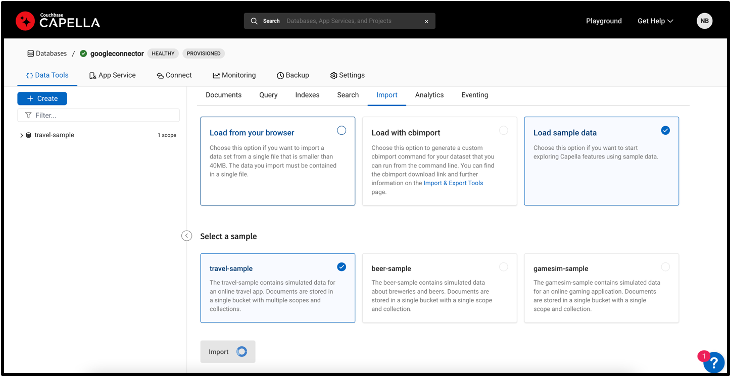
Once the database is healthy, deploy the travel-sample bucket:
- Open the database.
- Navigate to the Data Tools tab.
- On the Import page, click Import under the travel-sample tile.
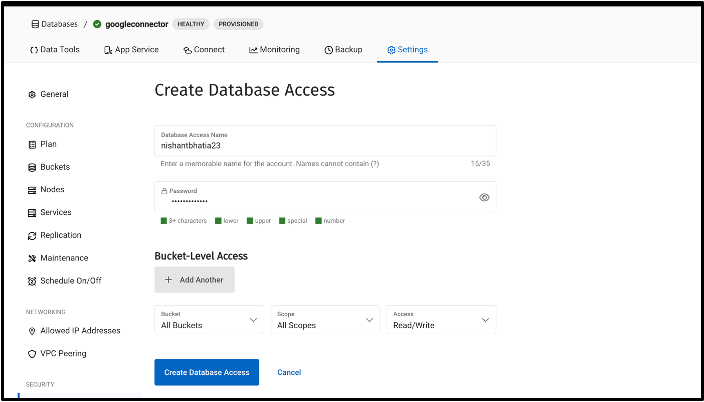
Go to the Settings tab and create Database Access credentials, this needs to be added while configuring the connector in Google.
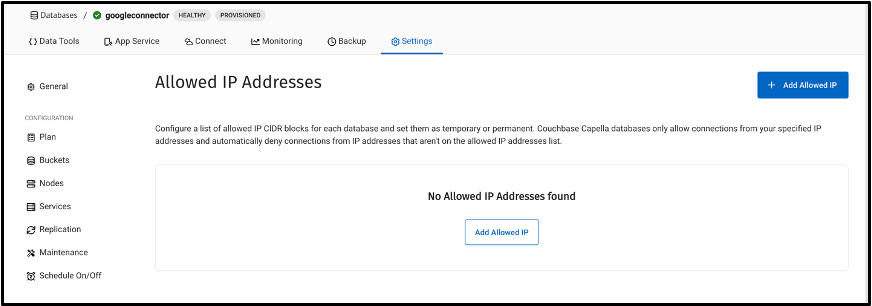
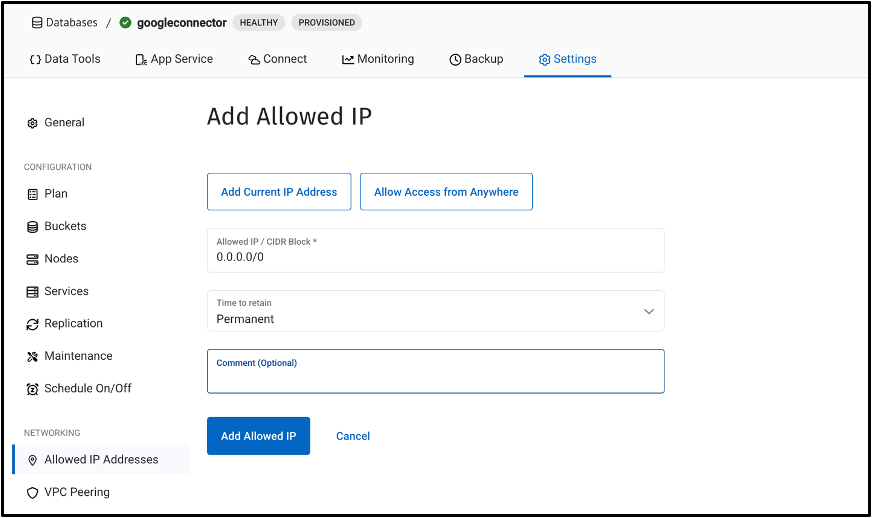
Add the allowed list of IPs to access the Capella Database. For testing purposes, we are keeping the access public.
Navigate to Security Certificate on the left-hand navigation bar and either download or copy and paste it to a text editor. You will need to add this security certificate when configuring the connector in Google.

Setting up a service account in Google Cloud
Grant the roles/connectors.admin IAM role to the user configuring the connector.
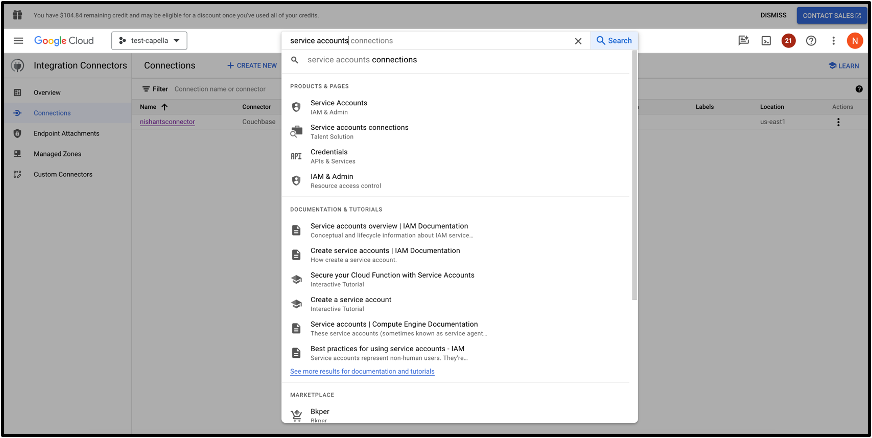
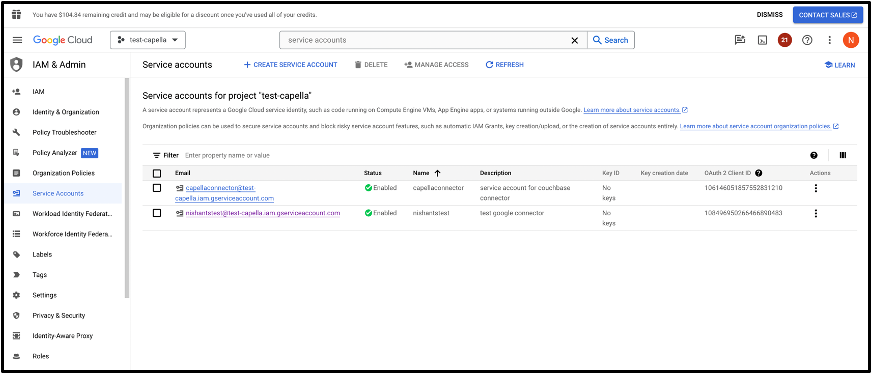
Let’s head to Google cloud console to set up the service account. In the search bar, search for service accounts under IAM & Admins.
Click on + Create Service Account.
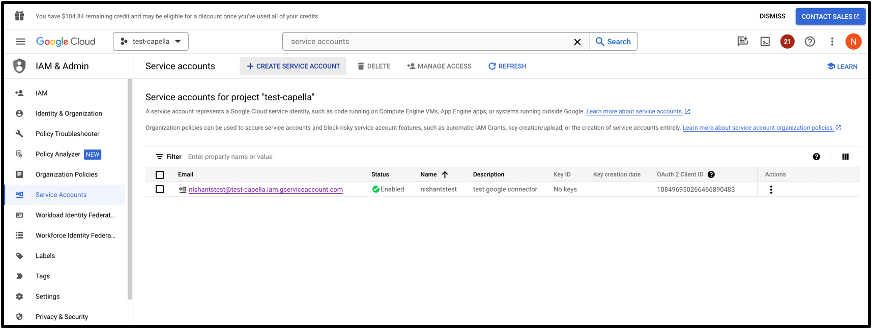
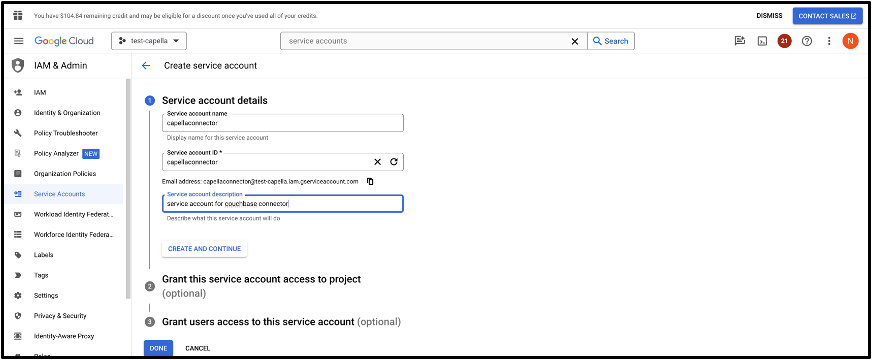
Add the account name and description (if applicable). The Service Account ID will be generated automatically.
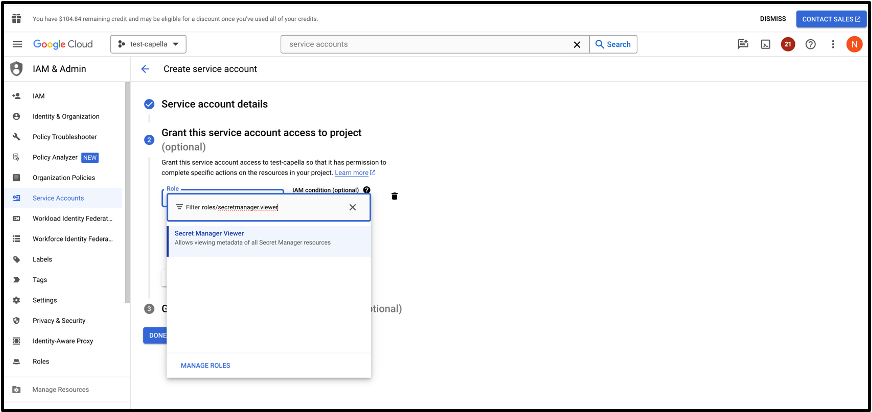
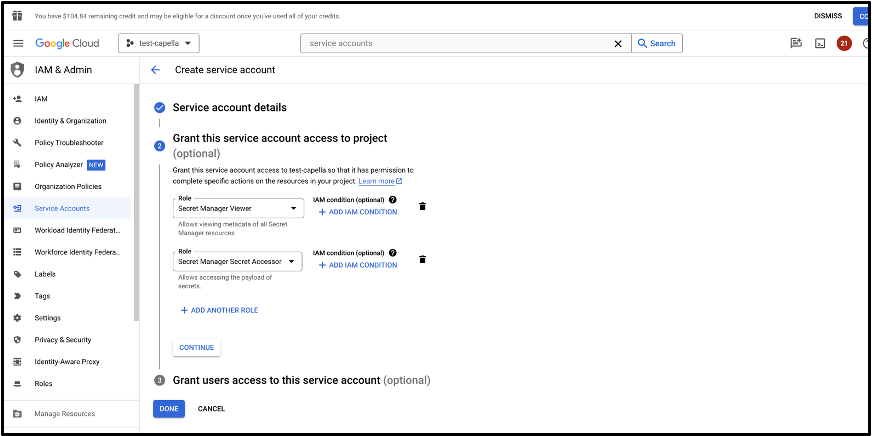
Grant the following IAM roles to the service account for the connector:
- roles/secretmanager.viewer
- roles/secretmanager.secretAccessor
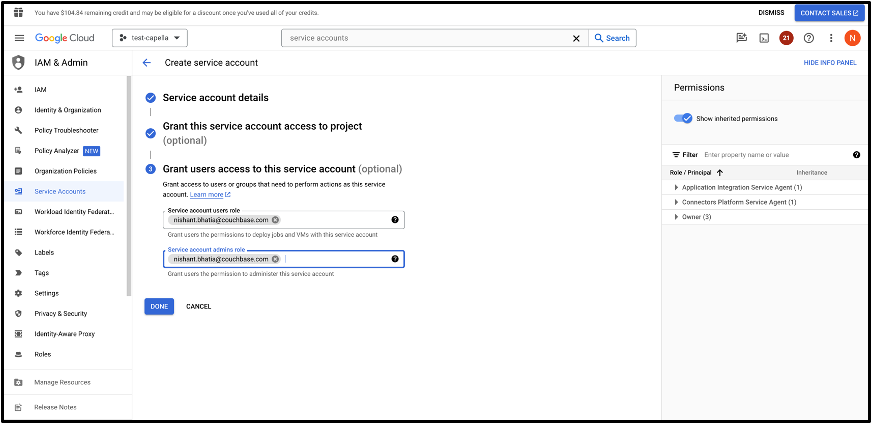
Add users to grant them permission to use this service account. In this case, I have added myself as a user to administer this service account.
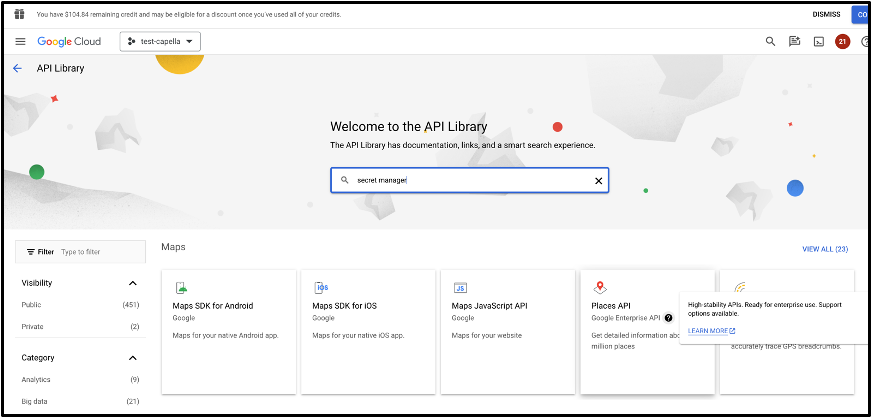
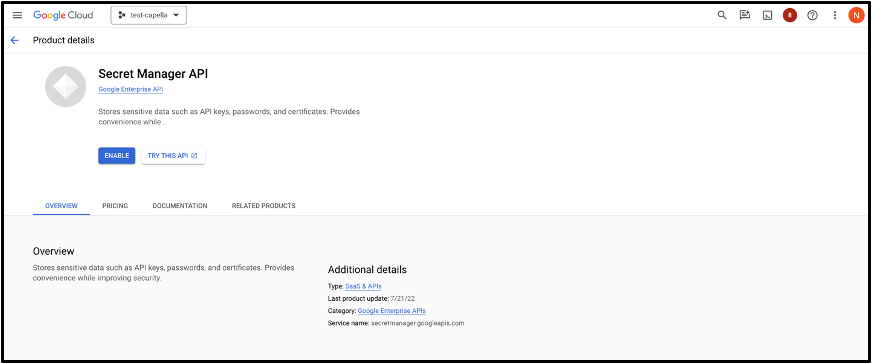
Enable APIs
Enable the following services using this link:
- secretmanager.googleapis.com (Secret Manager API)
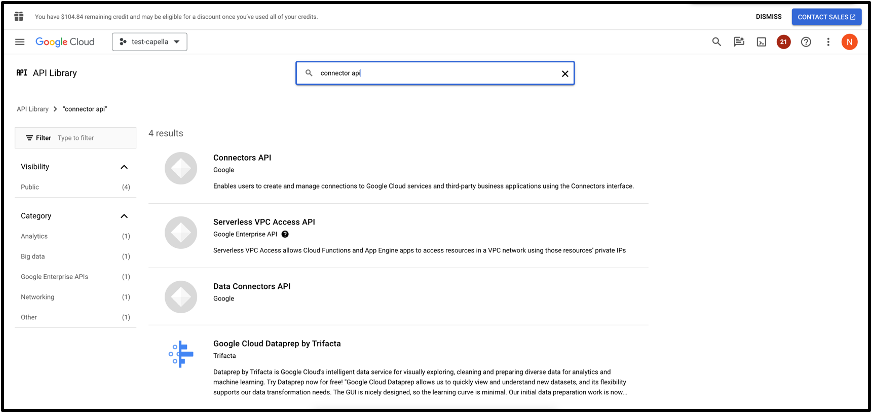
- connectors.googleapis.com (Connectors API)
Click on Enable API to enable the Secret Manager and do the same for the Connector API.
Configuring the Connector
Configure the connector by specifying your Couchbase Capella cluster details. This includes the cluster’s endpoint, bucket name, and authentication credentials.
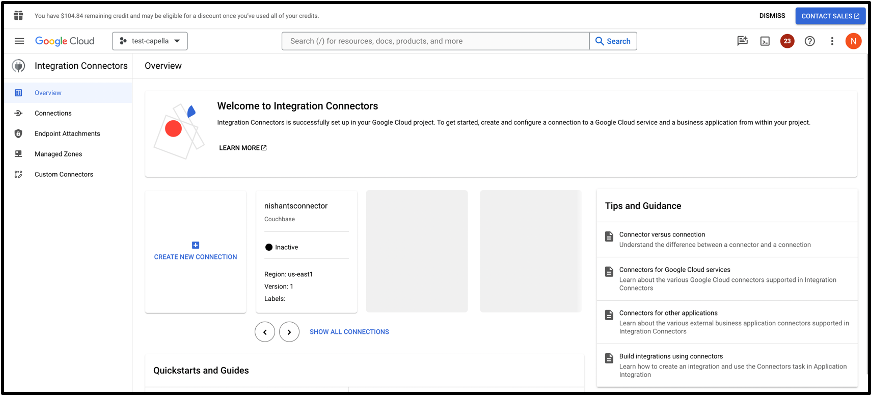
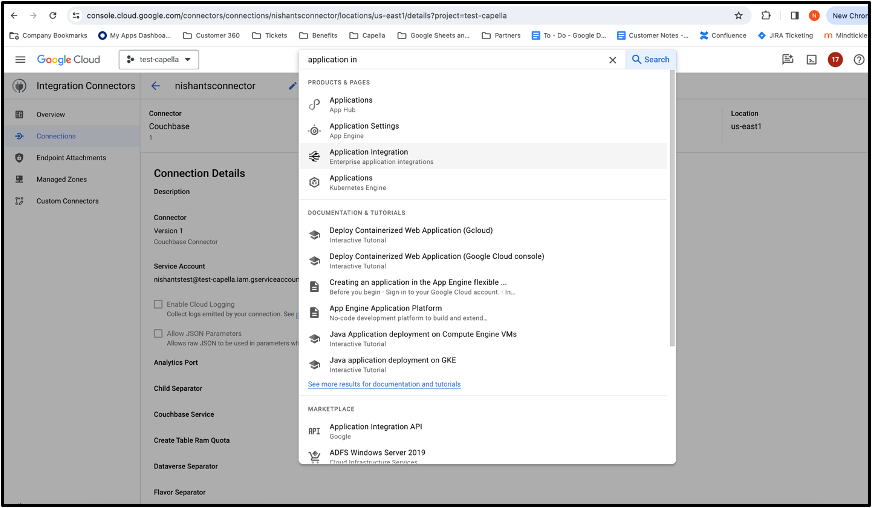
In the search bar, type integration connector and click on Create New Connection.
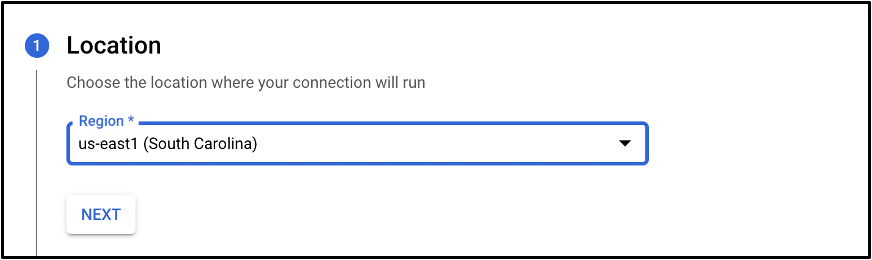
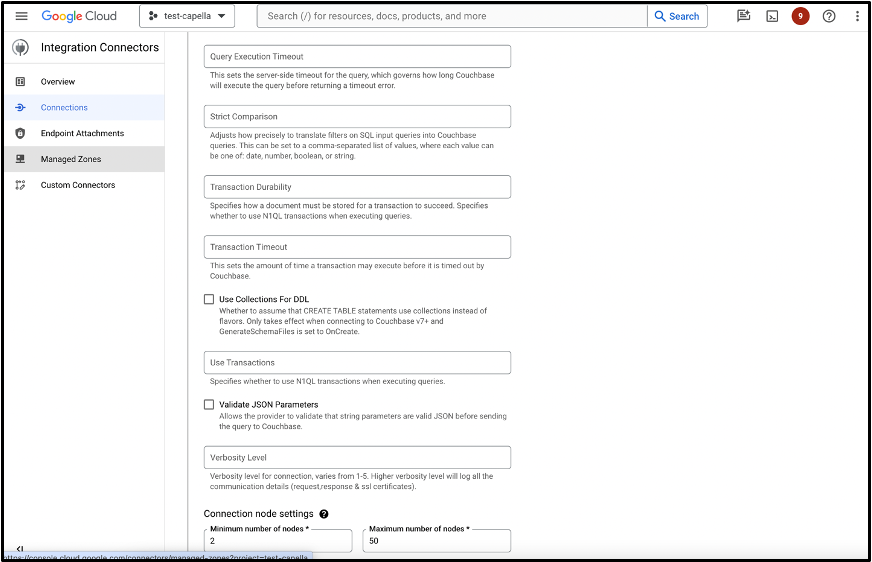
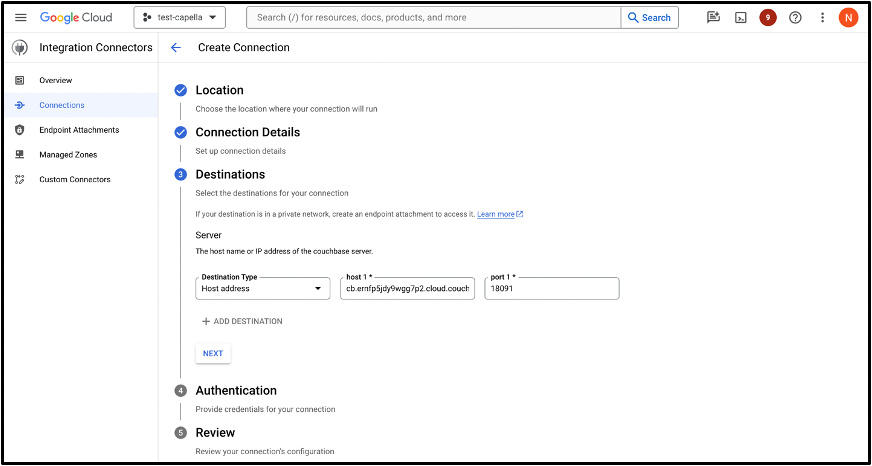
Select Region (same as Capella Database), Connector as Couchbase and the service account we created previously. Keep the other fields empty as shown in the screenshots and go to destinations to add the Capella endpoint and port number.
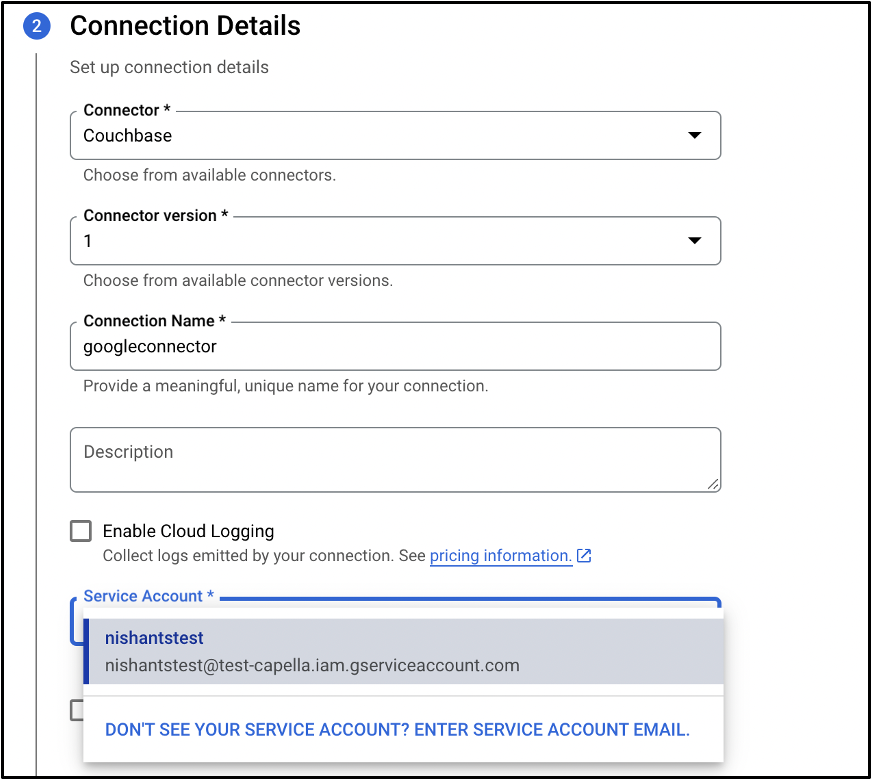

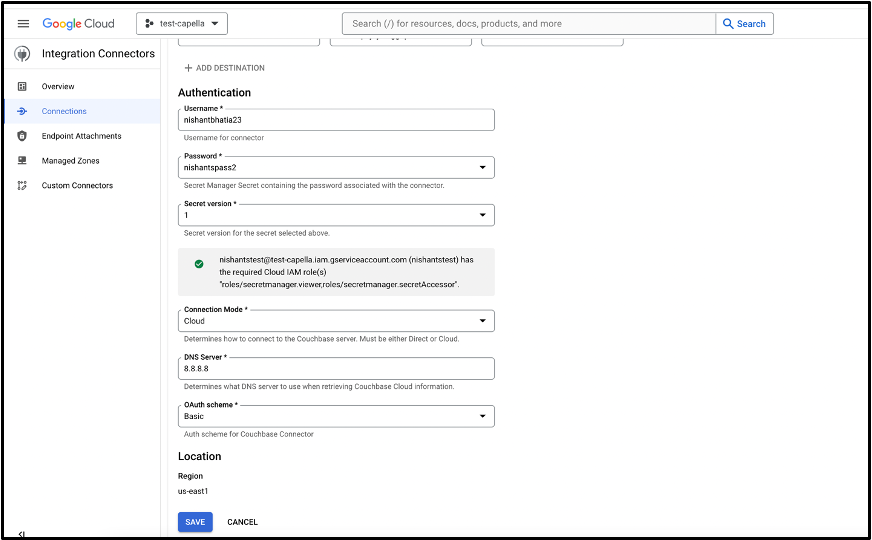
You can create a new secret to add the Capella password that we created at the beginning of this blog.

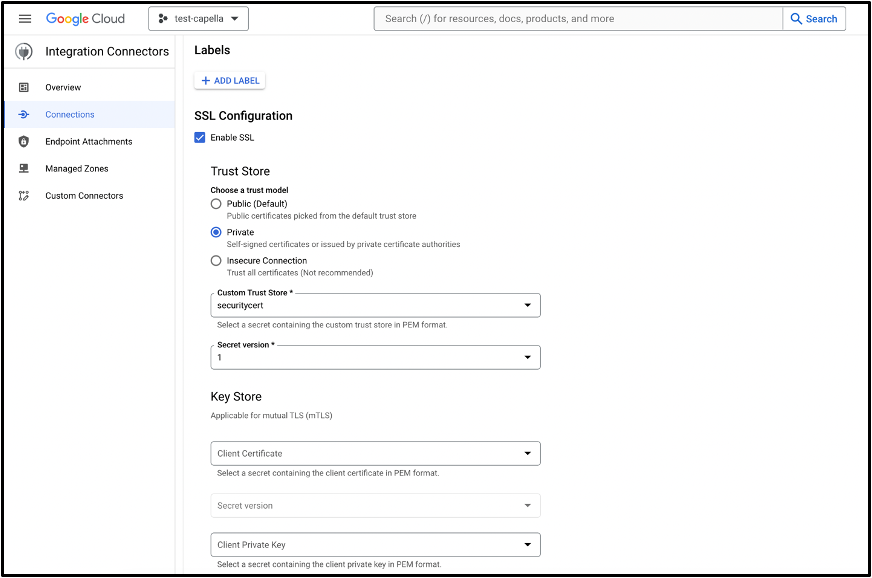
Enable SSL and copy and paste the security certificate from the Capella database under settings tab.

Select connection mode as Cloud, enter DNS server as 8.8.8.8 and OAuth Scheme to basic, click Save to create a connection.
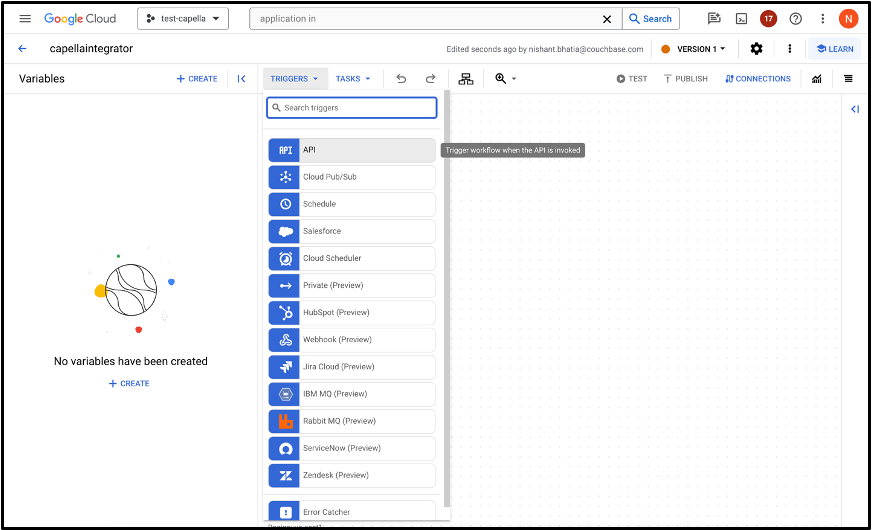
Setting up Application Integration for Couchbase
Navigate to the Google Cloud Console and search for Application Integration.
Click on + Create Integration.

Name appropriately and select the same region as the Capella database and Connector.

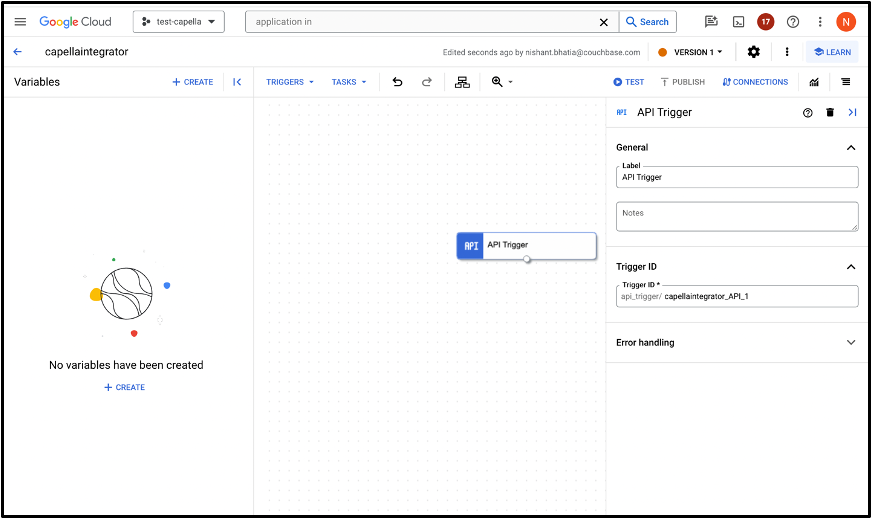
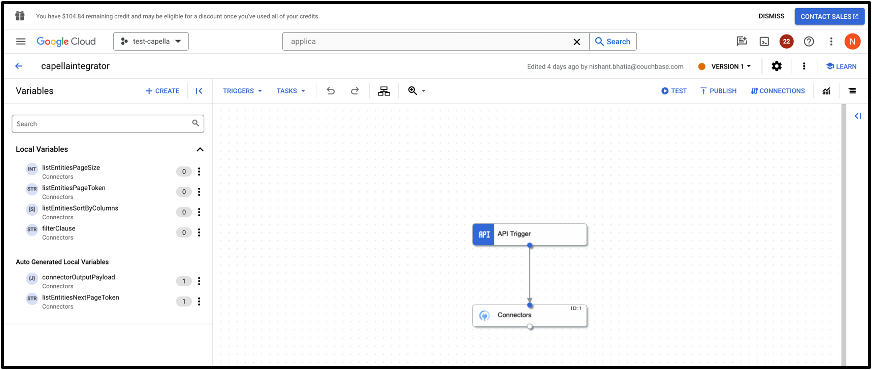
Under Triggers, select API and drag and drop the box into the UI.
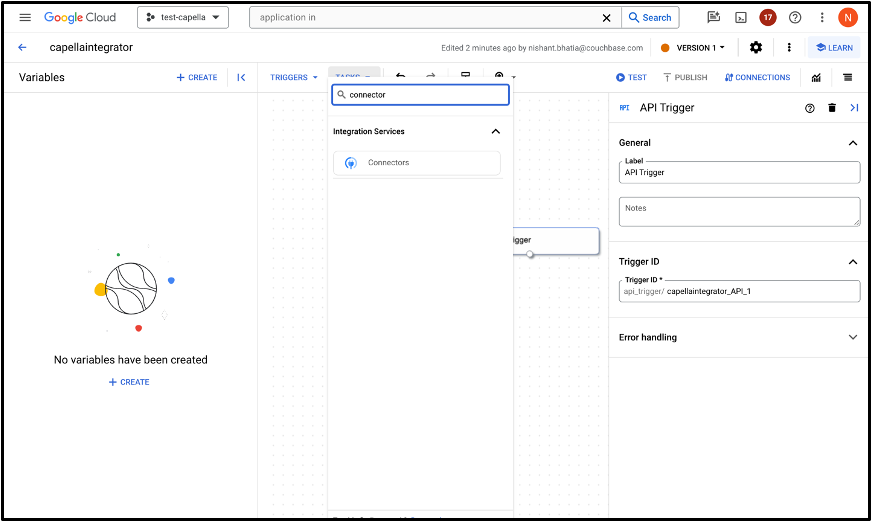
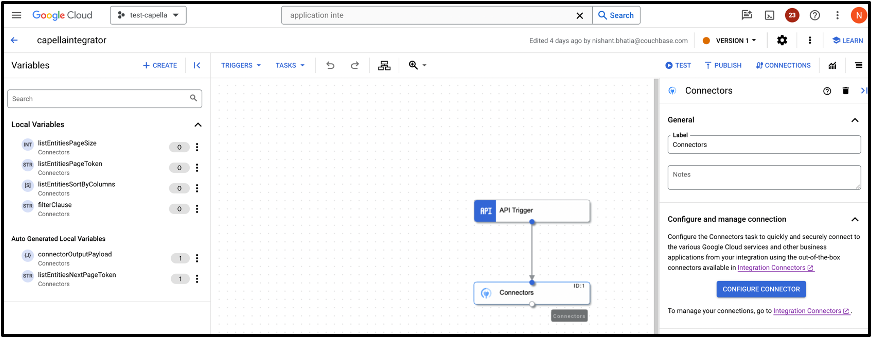
Once done, under Tasks, select Connectors and drag and drop it to the UI.
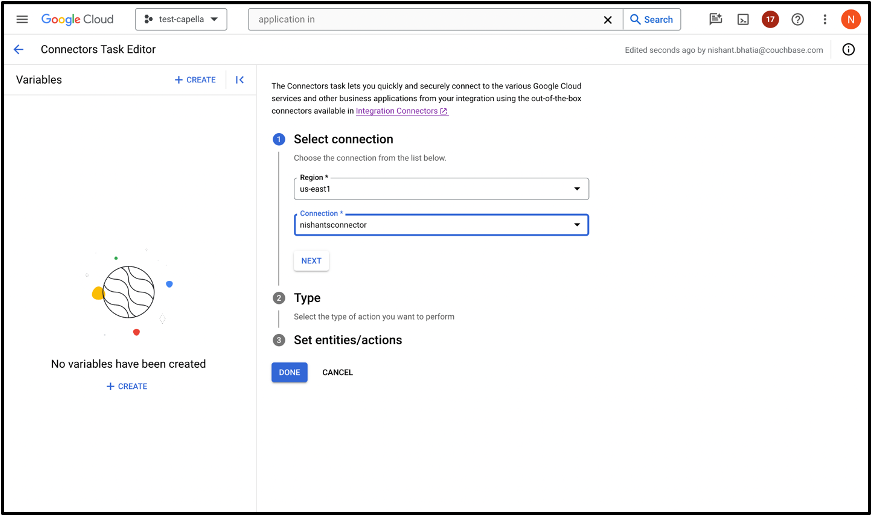
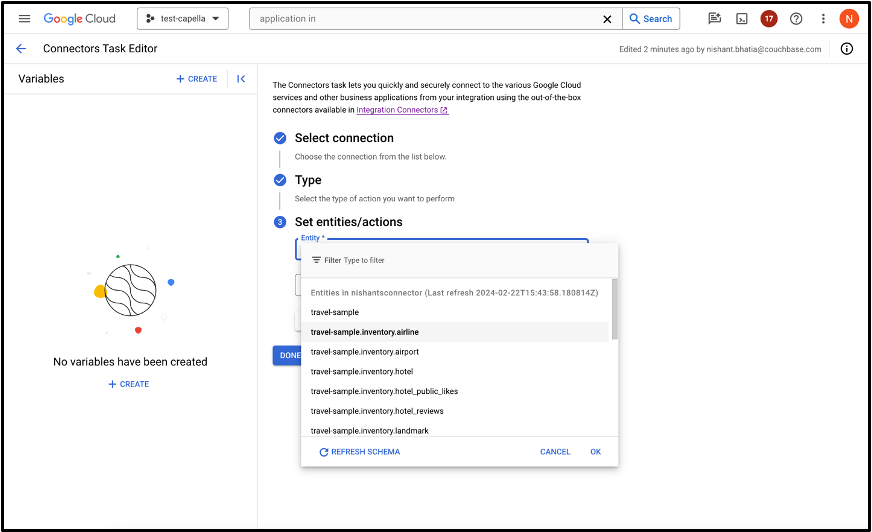
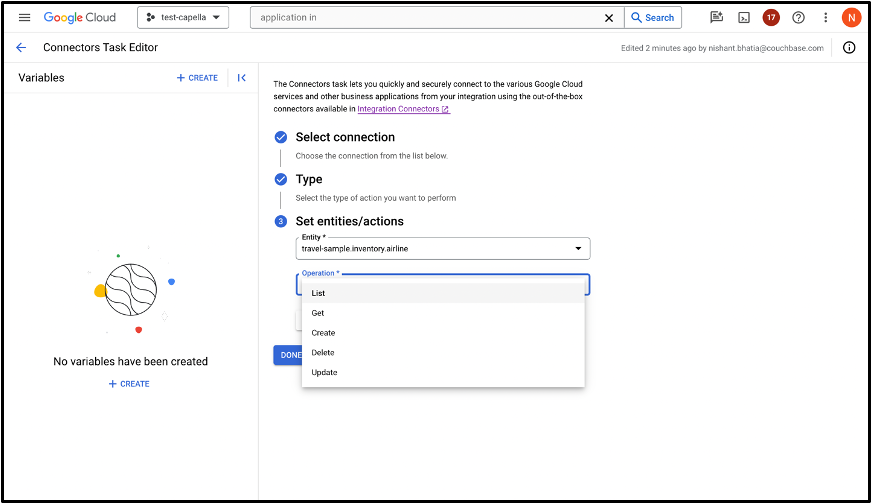
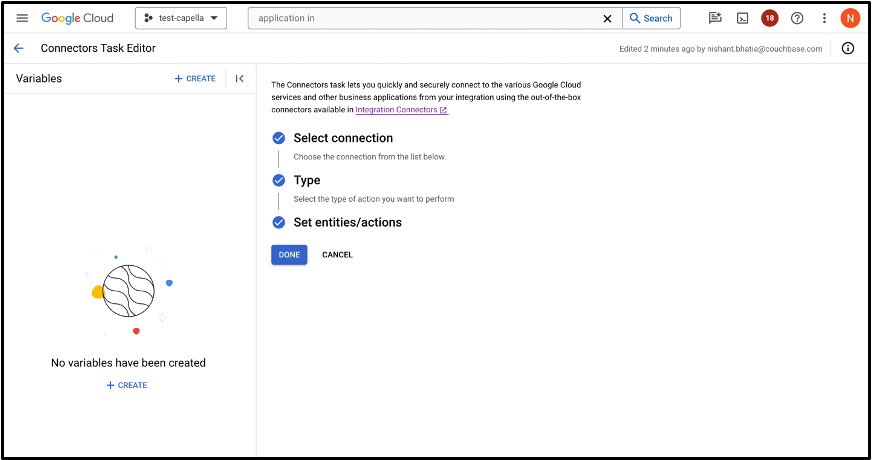
Click on Configure Connector and follow the steps given in the screenshots to add the connector name, type (entities or action), and list operations.

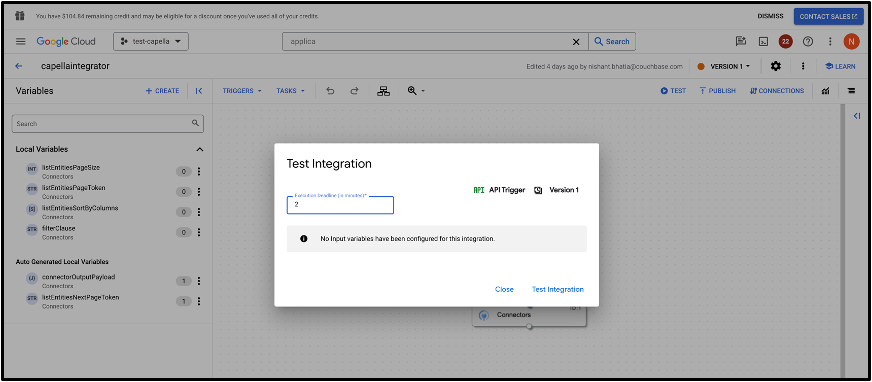
Test Connector
Click on Test in the upper right corner to test the integration.
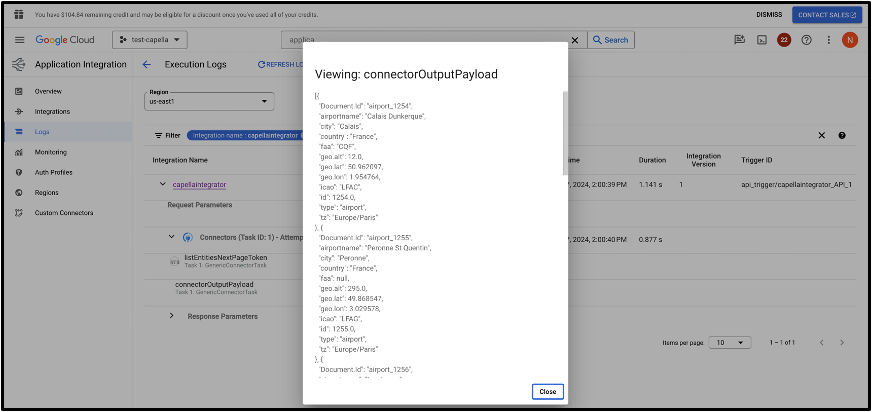
Click on Logs after you hit Test Integration.
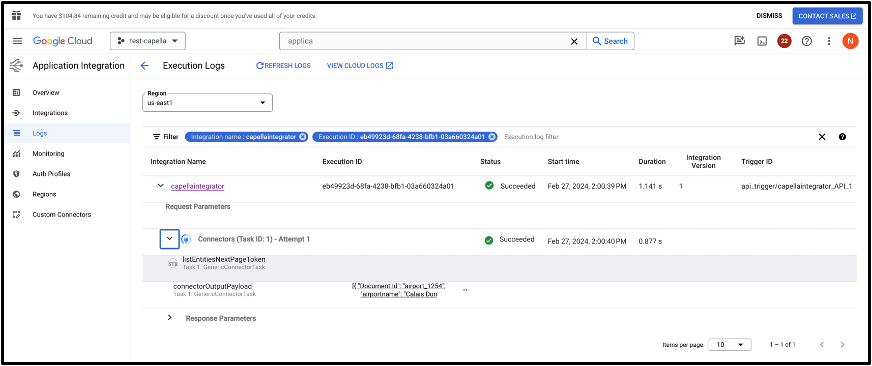
Click on the connector output payload result to check the JSON output.
Integrating with Other Google Services
After setting up the connector and defining operations, you can integrate with other Google Cloud services, like BigQuery for analytics or Vertex AI for machine learning applications.
This is how you set up the Couchbase connector with Capella using Application Integration.
Leave a comment
You must be logged in to post a comment.