In this blog post series, I’m going to show the very basics of interacting with Couchbase for .NET developers. I’ll start with the basics, and build towards a “vertical” slice of a complete ASP.NET MVC app.
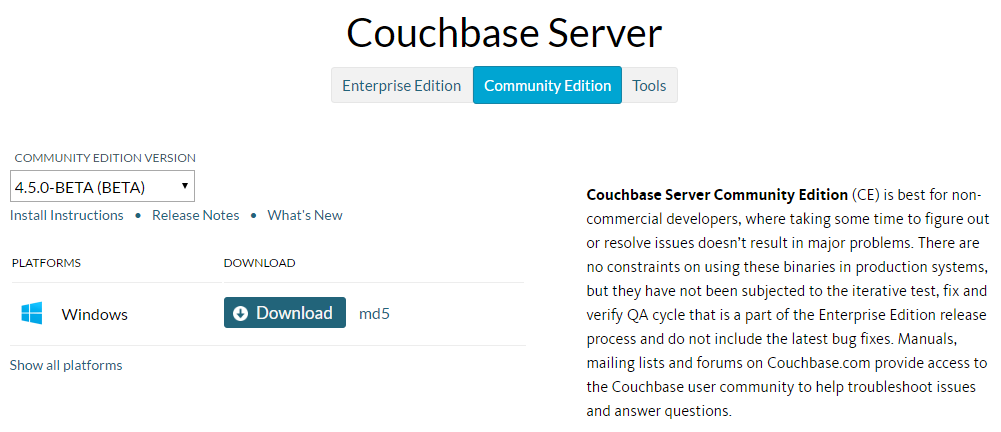
Let’s start with the easiest part: downloading and installing Couchbase Server. Go to the Downloads page on the Couchbase website. You can now choose from the Enterprise Edition or the Community Edition. If you’re just getting started, I recommend downloading the Community Edition. At the time of writing this blog post, Couchbase Server 4.5.0 is available as a Beta, but 4.5.0 will get a full release soon.
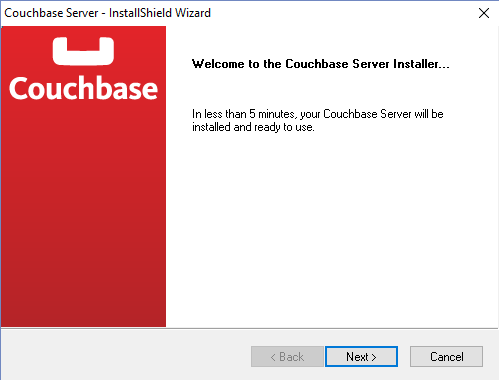
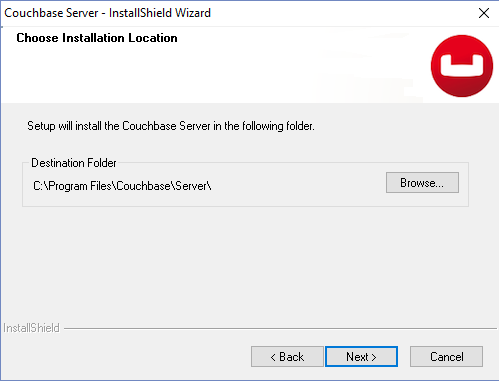
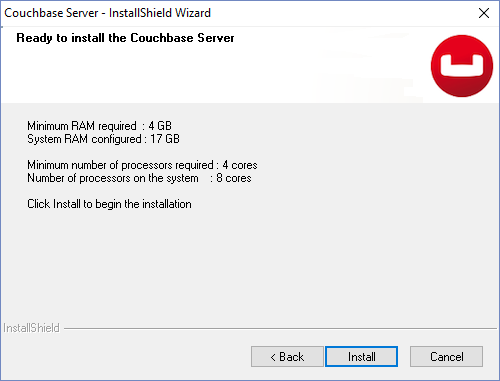
I’m going to install it on Windows 10, but you can install it pretty much everywhere, including Mac OSX and Linux. Run the exe file that you just downloaded.

At this point, Couchbase should be running as a Windows Service (you can verify by opening services.msc). If you aren’t using Couchbase and need to temporarily shut it down, you can just stop the service.

You should also be automatically taken to the Couchbase Console, which you access via web browser. Here you can finish your Couchbase setup. You can always return to this console via https://localhost:8091
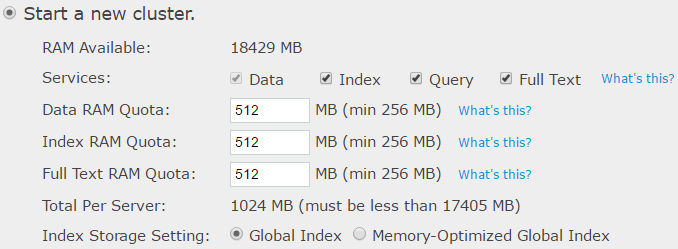
After you click “Setup”, you’ll get a configuration wizard. I’m not going to go into configuration in much detail. I would recommend checking out some of the free Couchbase training available if any of the settings intrigue you. I’m going to stick with the default settings (mostly) for now. The high speeds that Couchbase gives you come at a price: a lot of data is stored in RAM for quick access. In step 1, you need to specify how much RAM to give to Couchbase. You may want to dial down some of the default RAM Quotas (you can always change them later).
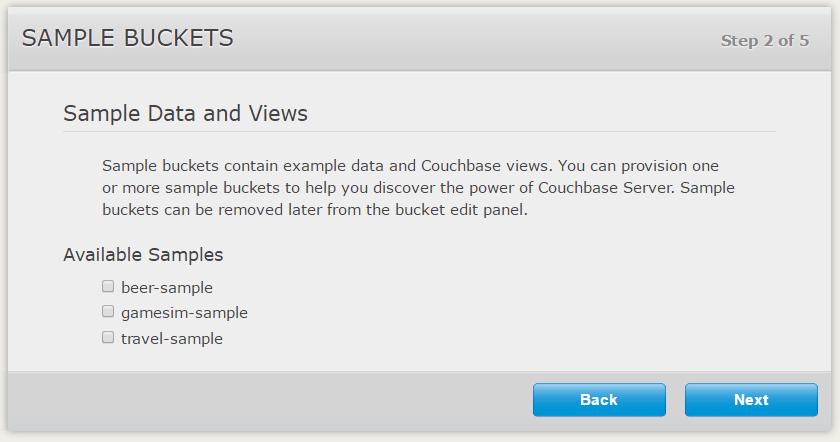
In step 2, you can choose to install some sample data. The “travel-sample” is useful, and has documents that you can use to try out some of the N1QL functionality. In Couchbase, data is stored in “buckets”, which are basically giant key/value stores: each entry in a bucket must have a unique key. Now, the “value” in Couchbase can be anything, but typically it is a JSON document. Couchbase provides some additional functionality, including indexing and SQL-like querying (called N1QL), if you use JSON documents. This is the reason that Couchbase is often referred to as a “document database” instead of just a key-value store.
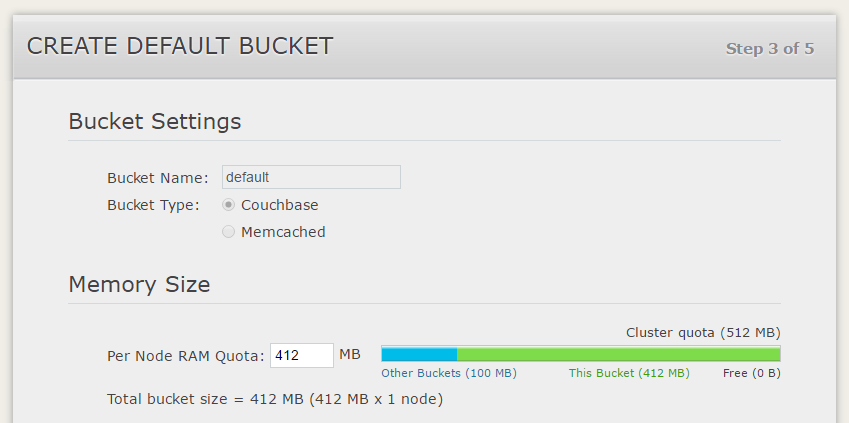
In step 3, you create a “default” bucket. If you elected to install the any samples, then you may need to go back and dial up the RAM Quotas. Since we’re only going to be using one Couchbase node (a node typically corresponds to 1 machine), you can elect to disable Replicas. However, replication is a key part of scaling Couchbase, and allows your cluster to recover from individual nodes going down.
In step 4, you can elect to receive notifications from Couchbase and register the product.
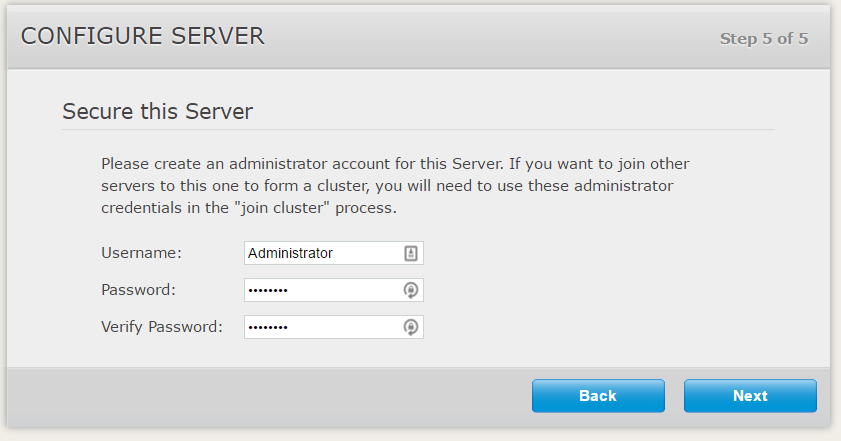
Finally, in step 5, you need to enter a username and password to create an administrator account.
Now you are ready to start using Couchbase. On the “overview” page, you can see how much RAM is available to Couchbase, and how much is actually being used. If we wanted to scale out Couchbase by adding additional servers (this is known as a “cluster”), then we would see them listed in the Servers section. If you click on the “Data Buckets” tab, you’ll see that there’s at least the default bucket you created. Any of the sample buckets you elected to install should be listed too.
Go ahead and play around with the Couchbase Console. Check out the Couchbase Console documentation if you want to get a head start (note that 4.5.0 is still subject to change before release). In the next blog post, I’m going to review the basics of how Couchbase works, and prepare you to start writing code.
If you have any questions, are confused by anything, or just need help walking through the install, please leave a comment below, contact me on twitter, or email me via matthew.groves AT couchbase DOT com. I’d love to help!
[…] You can also refer to the first part of my blog post series on Couchbase with Windows. […]