
Docker 1.12 introduced 서비스. A replicated, distributed and load balanced service can be easily created using docker service create command. A “desired state” of the application, such as run 3 containers of Couchbase, is provided and the self-healing Docker engine ensures that that many containers are running in the cluster. If a container goes down, another container is started.
If a node goes down, containers on that node are started on a different node. This blog will show how to setup a Couchbase cluster using Docker Services. Many thanks to @marcosnils, another fellow Docker Captain,
to help me debug the networking!
Couchbase Cluster
A cluster of Couchbase Servers is typically deployed on commodity servers. Couchbase Server has a peer-to-peer topology where all the nodes are equal and communicate to each other on demand. There is no concept of master nodes, slave nodes, config nodes,
name nodes, head nodes, etc, and all the software loaded on each node is identical. It allows the nodes to be added or removed without considering their “type”. This model works particularly well with cloud infrastructure in general.
A typical Couchbase cluster creation process looks like:
- Start Couchbase: Start n Couchbase servers
- Create cluster: Pick any server, and add all other servers to it to create the cluster
- Rebalance cluster: Rebalance the cluster so that data is distributed across the cluster
In order to automate using Docker Services, the cluster creation is split into a “master” and “worker” service.
The master service has only one replica. This provides a single reference point to start the cluster creation. This service also exposes port 8091. It allows the 카우치베이스 웹 콘솔 -로
be accessible from outside the cluster.
The worker service uses the exact same image as master service. This keeps the cluster homogenous which allows to scale the cluster easily.
Let’s get started!
Setup Swarm Mode on Ubuntu
- Launch an Ubuntu instance on Amazon. This blog used
mx4.largesize for the AMI. - Install Docker:
- Docker Swarm mode is an optional feature and need to be explicitly enabled. Initialize Swarm mode:
Create Couchbase “master” Service
- Create an overlay network:
This is required so that multiple Couchbase Docker containers in the cluster can talk to each other.
- Create a “master” service:
This image is created using the Dockerfile 여기. This Dockerfile uses a configuration script -로
configure the base Couchbase Docker image. First, it uses Couchbase REST API to setup memory quota, setup index, data and
query services, security credentials, and loads a sample data bucket. Then, it invokes the appropriate Couchbase CLI commands to add the
Couchbase node to the cluster or add the node and rebalance the cluster. This is based upon three environment variables:TYPE: Defines whether the joining pod is worker or masterCOUCHBASE_MASTER: Name of the master serviceAUTO_REBALANCE: Defines whether the cluster needs to be rebalanced
For this first configuration file, the TYPE environment variable is set to MASTER and so no additional configuration is done on the Couchbase image.This service also uses the previously created overlay network named
카우치베이스. It exposes the port 8091 that makes the 카우치베이스 웹 콘솔 accessible outside the cluster. This service contains only one replica of the container. - Check status of the Docker service:
It shows that the service is running. The “desired” and “expected” number of replicas are 1, and thus are matching.
- Check the tasks in the service:
This shows that the container is running.
- Access Couchbase Web Console using public IP address and it should look like:
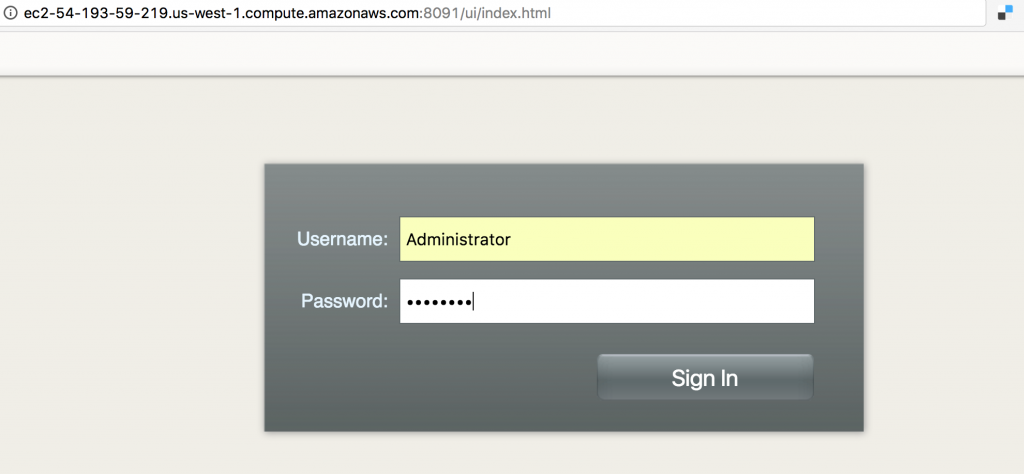
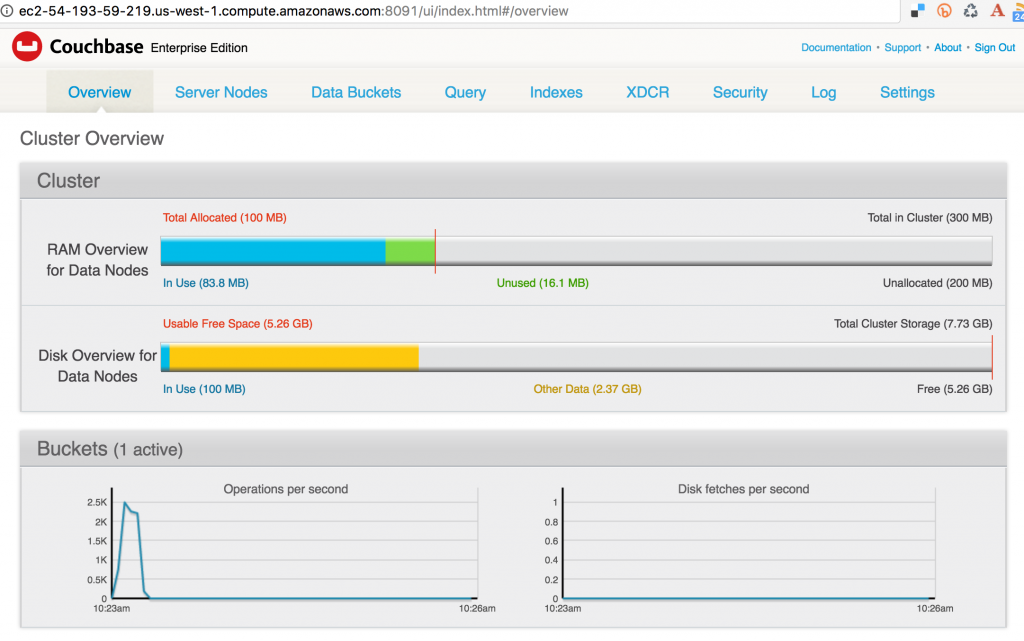
The image used in the configuration file is configured with the관리자username and비밀번호password. Enter the credentials to see the console:
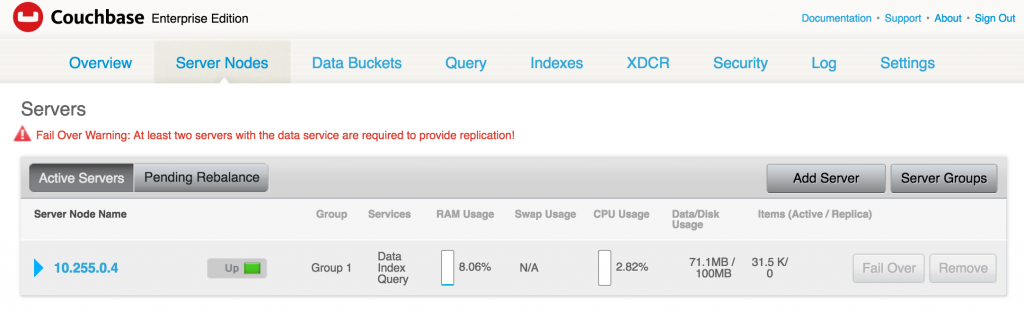
- Click on Server Nodes to see how many Couchbase nodes are part of the cluster. As expected, it shows only one node:
Create Couchbase “worker” Service
- Create “worker” service:
This RC also creates a single replica of Couchbase using the same
arungupta/couchbase:swarmimage. The key differences here are:TYPEenvironment variable is set toWORKER. This adds a worker Couchbase node to be added to the cluster.COUCHBASE_MASTERenvironment variable is passed the name of the master service,couchbase-master.couchbasein our case. This uses the service discovery mechanism built into Docker for the worker and
the master to communicate.
- Check service:
- Checking the Couchbase Web Console shows the updated output:
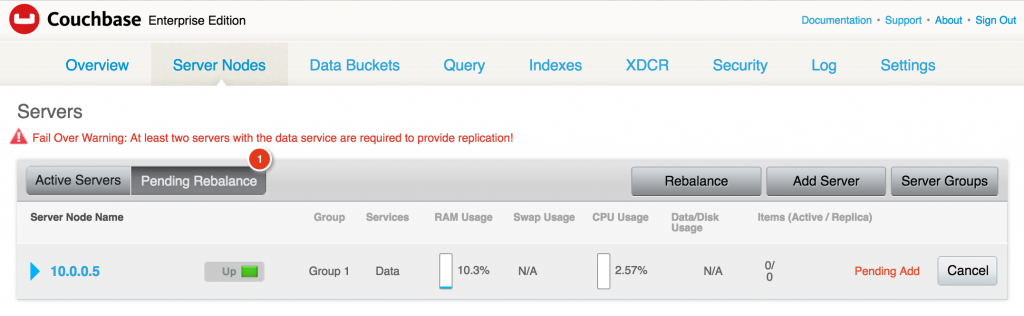
It shows that one server is pending to be rebalanced.During the worker service creation,AUTO_REBALANCEenvironment variable could have been set to참인또는거짓-로
enable 리밸런싱. This ensures that the node is only added to the cluster but the cluster itself is not rebalanced. Rebalancing the cluster requires to
re-distribute the data across multiple nodes of the cluster. The recommended way is to add multiple nodes, and then manually rebalance the cluster using the Web Console.
Add Couchbase Nodes by Scaling Docker Service
- Scale the service:
- Check the service:
This shows that 2 replicas of worker are running.
- Check the Couchbase Web Console:
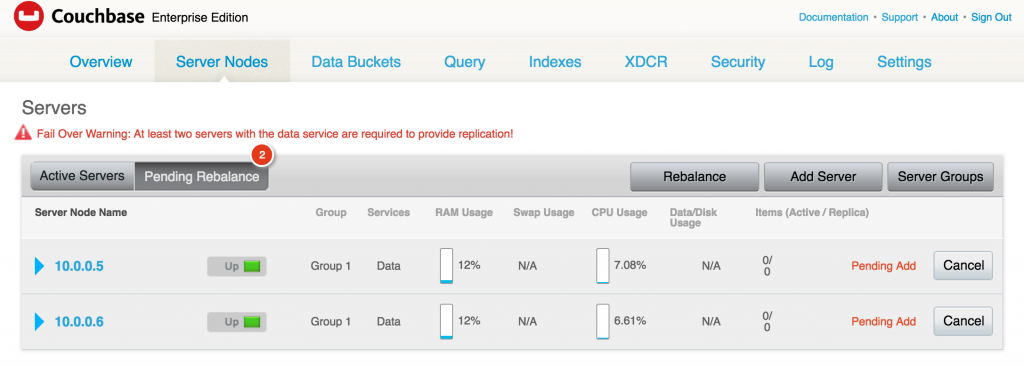
As expected, two servers are now added in the cluster and pending rebalance. - Optionally, you can rebalance the cluster by clicking on the
Rebalancebutton. and it will show like:

After the rebalancing is complete, the Couchbase Web Console is updated to as as shown:

- See all the running containers using
docker ps:0
In addition to creating a cluster, Couchbase Server supports a range of high availability and disaster recovery (HA/DR) strategies. Most HA/DR strategies
rely on a multi-pronged approach of maximizing availability, increasing redundancy within and across data centers, and performing regular backups. Now that your Couchbase cluster is ready, you can run your first sample application.
Learn more about Couchbase and Containers:
- Couchbase on Containers
- Follow us on @couchbasedev 또는 카우치베이스
- Ask questions on 카우치베이스 포럼
작가

1개의 응답
-
Hi,
thanks for the guide and couchbase :)
I’m trying this solution on my swarm. My goal is to NOT use persistent volumes and be sure that at least 1 container is preserving the data so the other instances could recover their data by them. With your solution it seems faseable, but, how i can store the configuration of all the nodes? I need to pass an ini file to every one, right? Can i set password or other configuration on boot by environment vars?

댓글 남기기
댓글을 달기 위해서는 로그인해야합니다.