

Last time, I blogged about the concept of my summer project: the suitcase cluster for demonstrating 카우치베이스 서버. I have good news: the project is underway! In this blog post, I’m going to show you how I started preparing the hardware.
But first, a couple quick notes:
- A friend of mine on Twitter came up with a catchy name for what I’m building: the Couchcase. So that’s what I’m going to call it from now on. The #Couchbase Couchcase.
- I wanted to give some more credit to the inspiriation for this project: Fujio Turner. He sent me a picture of the elaborate setup that he takes to meetups and conferences, and I thought I would share it with you.
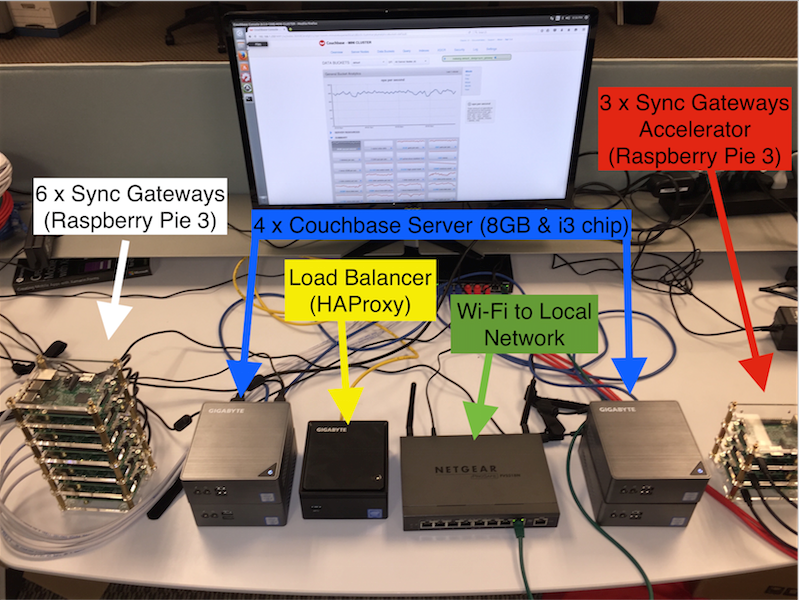
My version will be simpler, have an emphasis on Couchbase Server, and will be mounted into a briefcase for portability and ease of setup/teardown. But what I’m building is very similar to his original project.
Couchbase on a Stick
In the previous blog post, I mentioned that I was going to try “compute sticks”, since they have 64-bit Intel CPUs and 2gb RAM.
The first device I tried was a GOLE Windows 10/Android stick PC. This has a 64-bit CPU, but what I didn’t realize was that it comes with Windows 10 32-bit (which Couchbase Server will not run on). My next thought was “no big deal, I’ll create a bootable USB thumbdrive with Ubuntu or 64-bit Windows.” For the GOLE, this is easier said than done! I couldn’t figure out any way to get this thing to recognize and boot from a USB drive.
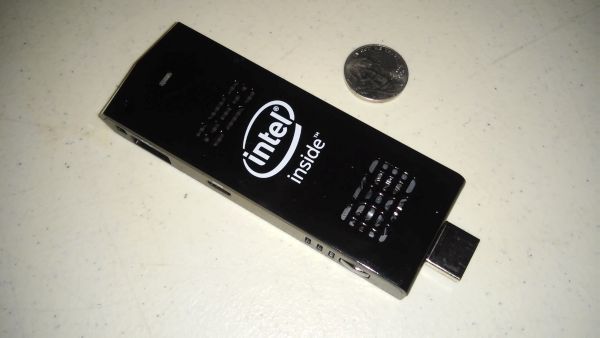
Figure 1. Intel Compute Stick, nickel (or is it a N1QL?) for scale
The next device I got was an Intel Compute Stick. It’s almost identical to the GOLE stick. When it arrived, I found that it too came with Windows 10 32-bit (FYI, there is a version that comes with 64-bit Ubuntu pre-installed, but that version only ships with 1gb of RAM). The key difference is that I was able to get it to recognize and boot from a USB drive.
Warning: replacing the factory OS with something else is likely to void your warranty and/or any hope of getting help from Intel in the future.
However, it’s not 100% straightforward to go from unboxing to Couchbase Server. Here’s an overview of the steps I took.
1. Update BIOS
The Compute Stick is meant to always be plugged into your TV via HDMI. It’s actually a pretty cool alternative to a Chromecast or Roku stick because you aren’t limited to a set of apps. You can browse the web and view Netflix, of course, but if some other streaming service comes along, or you want to use some obscure service that doesn’t have a Roku app yet, this is the tool for you.
Anyway, for this project, I have no need to have any display adapter attached to them. However, what I found is that if a stick is turned off and back on, it will not boot to the OS if there is no display attached. UNLESS, you update the BIOS.
I got the latest BIOS from Intel’s site, copied it to a USB thumb drive. Then I boot the Compute Stick, load up the BIOS, and update the BIOS firmware.
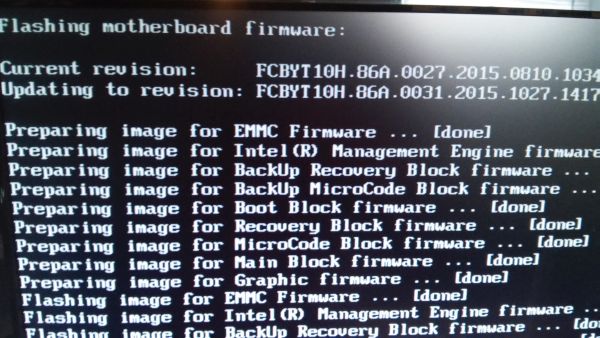
After you do this, the compute stick has no problem booting into the OS without a display attached.
2. Create a bootable USB thumbdrive.
I decided to use Ubuntu 14, 64-bit. I created a bootable USB drive from Windows using a tool called Rufus, following the instructions on Ubuntu’s website. The only thing I believe I did differently is that under the “Create a bootable disk using” setting, I selected “DD Image” instead of “ISO Image”. YMMV, but if you use “ISO Image” you may get a “CD-ROM” error during Ubuntu installation.
3. Attach the bootable USB thumbdrive, a keyboard, and mouse.
The compute stick only has one USB port, so I had to use a hub to connect all the devices I wanted to use: keyboard, mouse, thumbdrives, and USB-Ethernet adapter.
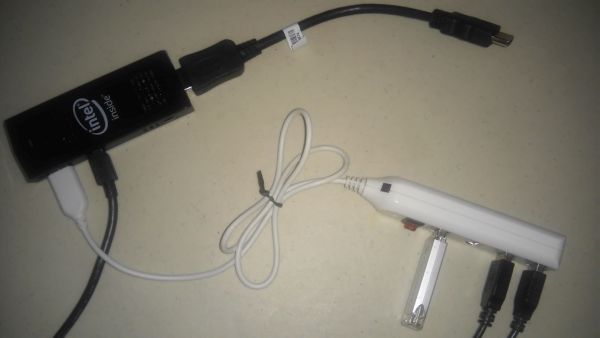
4. Change the boot settings
The next thing to do is to change a couple settings in the BIOS.
Change the “Select Operating System” setting from Windows to Ubuntu.
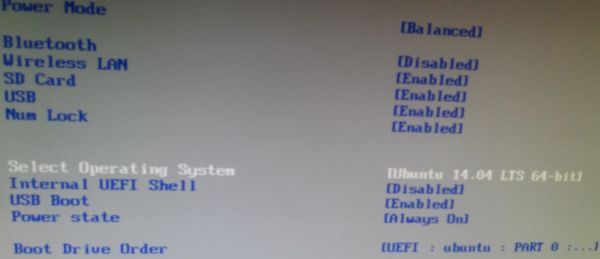
Change the “Boot Drive Order” so that the BIOS will boot into the bootable USB drive you created in step 2.
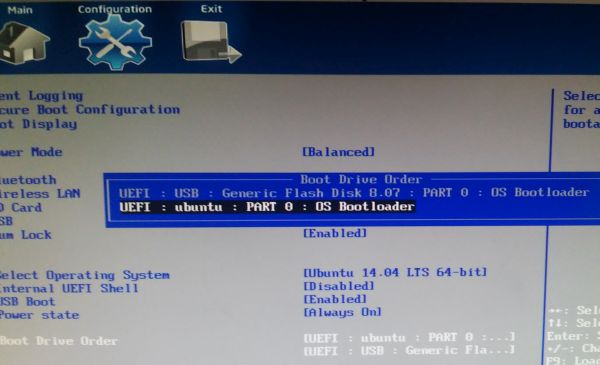
Save changes and exit the BIOS.
5. Install Ubuntu.
I’m sure a lot of you have done this before, on a VM at least. Installing Ubuntu is a piece of cake, even for a unenlightened Windows user like me! You might want to connect the Compute Stick to the internet, using a USB-Ethernet adapter. This allows Ubuntu to download updates while it installs. You’ll probably need this adapter later anyway, so you may as well plug it in and use it now.
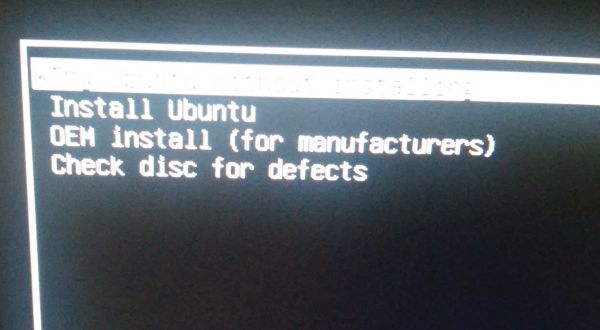
Note that I’m using Ubuntu Desktop. Ubuntu Server should work fine too, if you’re feeling more adventurous. But since this is project is just for fun, and you’re not actually using Compute Sticks in your data center (right!?), the desktop version will suffice.
6. Install wifi driver
If I had purchased the Intel Compute Stick that came preinstalled with Ubuntu, I’m guessing it would already come with a wifi driver installed. And in my experience, Ubuntu usually has no trouble with most wifi hardware. Unfortunately, it seems that a stock Ubuntu 14 installation can’t recognize the built-in wifi hardware on the Compute Stick. So, you’ll have to build and install it yourself. This took me a while to figure out, but I found some information on the Ubuntu Forums that helped. I mentioned in step 5 that you might need a USB-Ethernet adapter, and that’s because installing this driver requires the use of apt-get and git.
I opened a Terminal window and ran these commands:
|
1 2 3 4 5 6 7 |
sudo apt–얻다 설치 빌드–essential 리눅스–헤더–generic 깃 깃 복제 https://깃허브.com/hadess/rtl8723as.git cd rtl8723as make sudo make 설치 sudo depmod –a sudo modprobe 8723bs |
Some notes:
- Whenever I run the last command (
sudo modprobe 8723bs) I get an error message (“Module 8723bs not found”). This caused me no end of grief. However, the solution seems to be to just reboot (sudo reboot). - For whatever reason, the built-in wifi would not function when I still had my USB-Ethernet adapter plugged in. This also caused me a lot of grief. Solution: unplug it.
- Just in case the above-linked Github account disappears, I made a fork of it on Github that you can use instead.
7. Install Couchbase Server
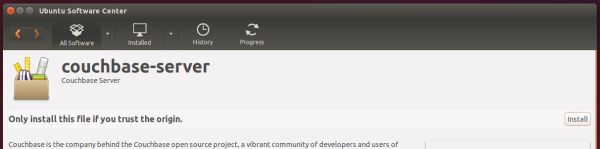
This is the easiest part. Download Couchbase Server (for Ubuntu 14, in my case), and double click the installer. Click the “Install” button in the Ubuntu Software Center, and you’re all set.
What’s next?
If you look back at my original plan, you can probably guess what’s next. But here’s a hint.
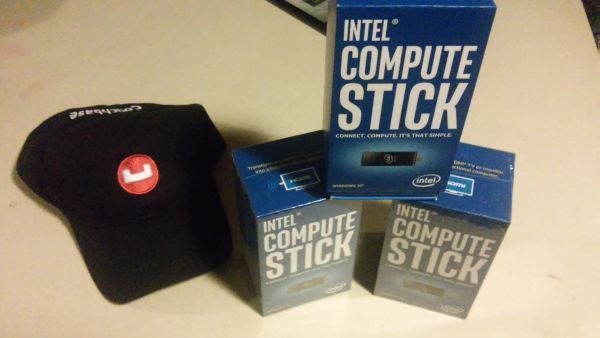
I hope you found this useful. Or at least entertaining.
If you have suggestions or ideas look me up on Twitter or email me (matthew.groves AT couchbase DOT com). I’d especially love to hear from you if you are trying something similar.

댓글 남기기
댓글을 달기 위해서는 로그인해야합니다.