
In today’s digital landscape, businesses are continuously seeking efficient ways to manage their access control and authentication processes. Integrating Microsoft Entra (formerly known as Azure AD) with Couchbase Server offers a robust and secure solution for single sign-on (SSO) using SAML. This integration enhances security and streamlines user management by leveraging Entra’s comprehensive identity and access management features while utilizing Couchbase Server’s powerful data platform capabilities. By connecting these two platforms, organizations can ensure seamless user authentication, improved user experience, and simplified administration.
This guide will walk you through the setup process, from creating an Enterprise application in Microsoft Entra to configuring Couchbase Server as a SAML Service Provider. Whether you’re a security admin or an Azure AD admin, this guide will help you successfully implement SAML-based SSO between Microsoft Entra and Couchbase Server. Let’s dive in!
전제 조건
- Admin access to Azure AD, e.g., the ability to set up a new Enterprise application
- Security Admin access to Couchbase
- Familiarity with XML-based SAML configurations
- Existing users in Azure
- Read the earlier blog article on Getting ready for SAML.
Setting Up Microsoft Entra
Create an Enterprise Application
- Log into the Azure Portal.
- Navigate to Microsoft Entra ID < Enterprise applications < + New application.
- Click on + Create your own application.
- Provide a name for your application and select: Integrate any other application you don’t find in the gallery (Non-gallery).
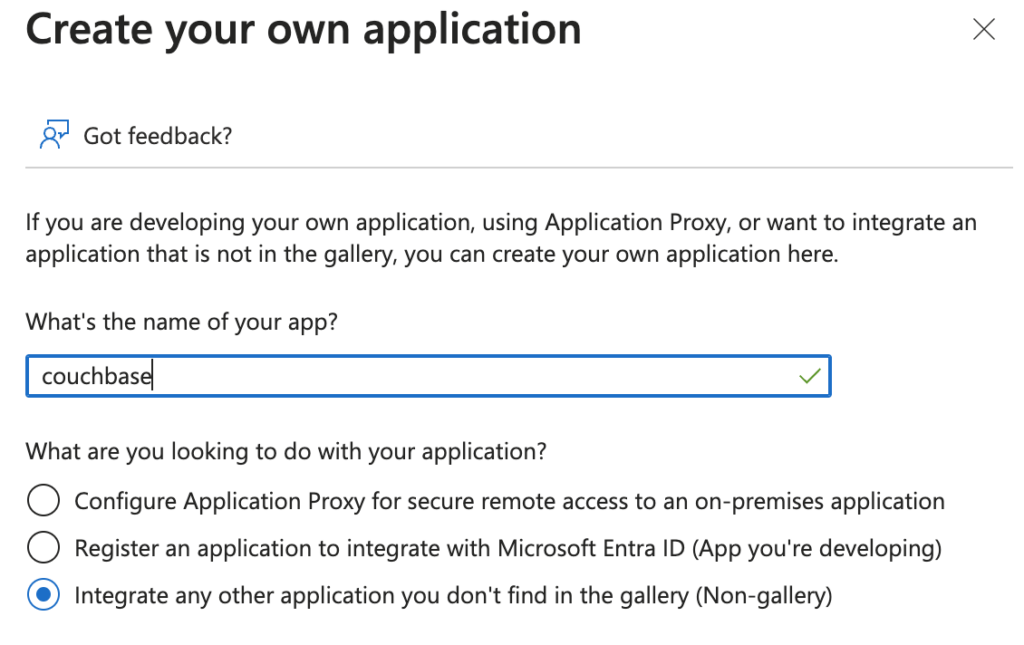
- 클릭 생성하다.
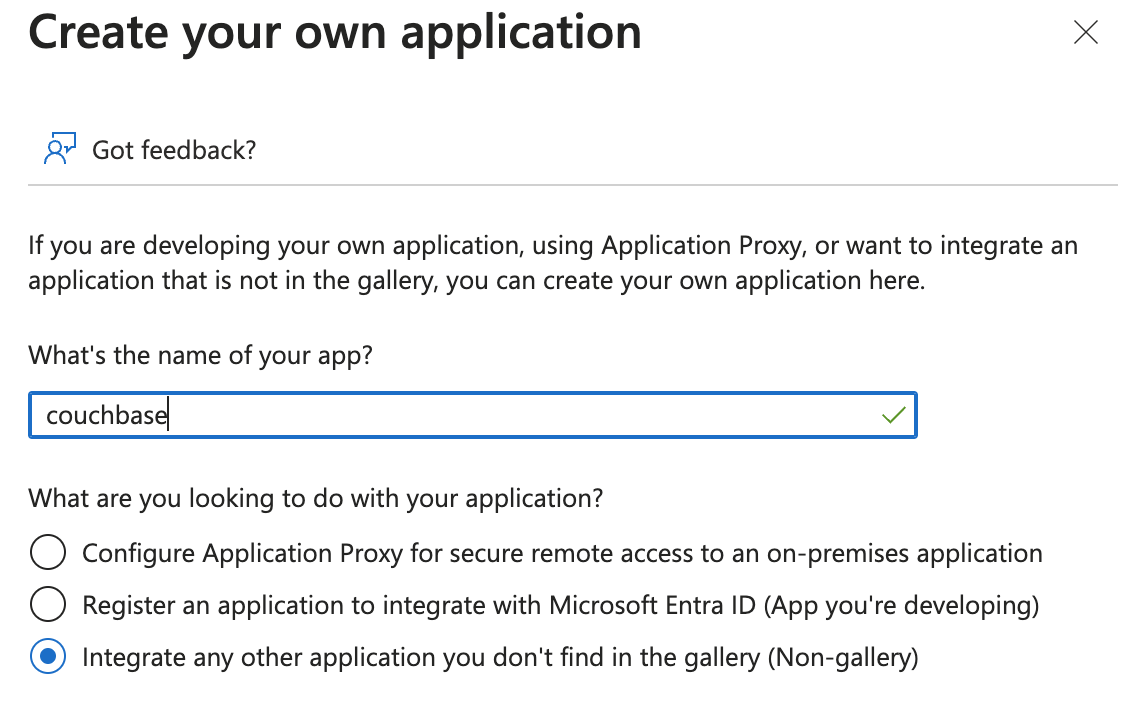
Please note: Azure will recommend several gallery options such as Couchbase Capella. For the on-premise edition you will need to ignore that as that option only works with our Capella offering.
Configure Single Sign-On
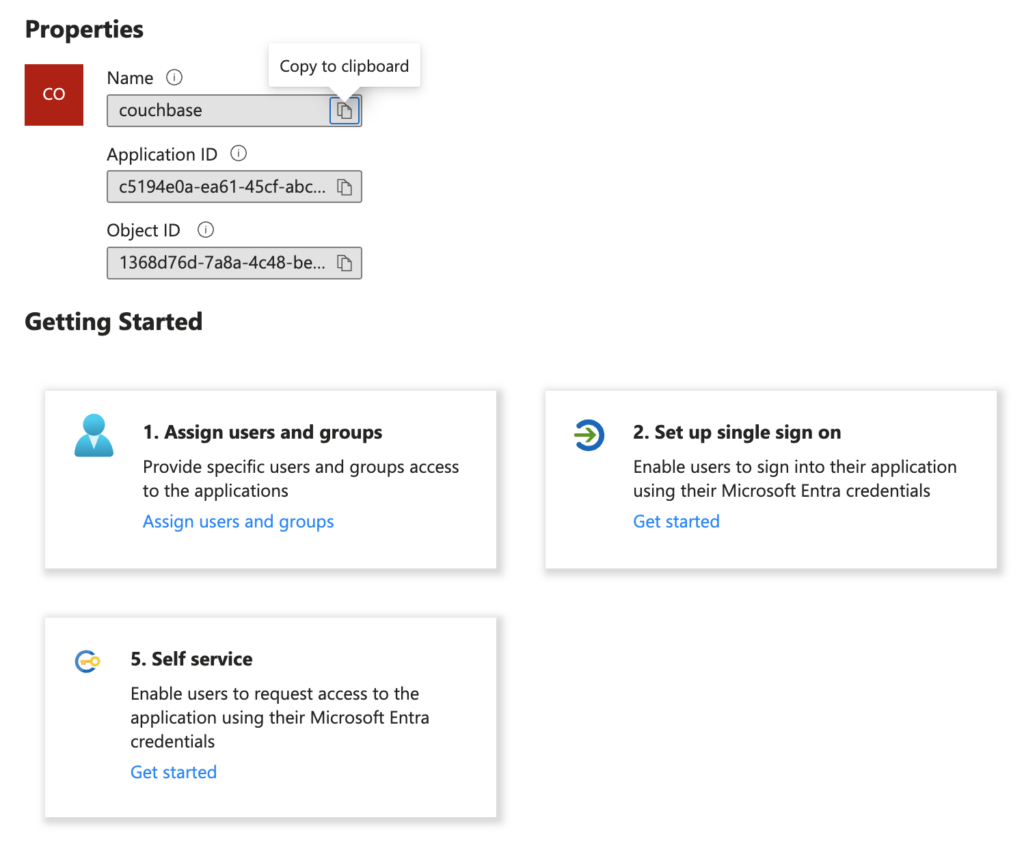
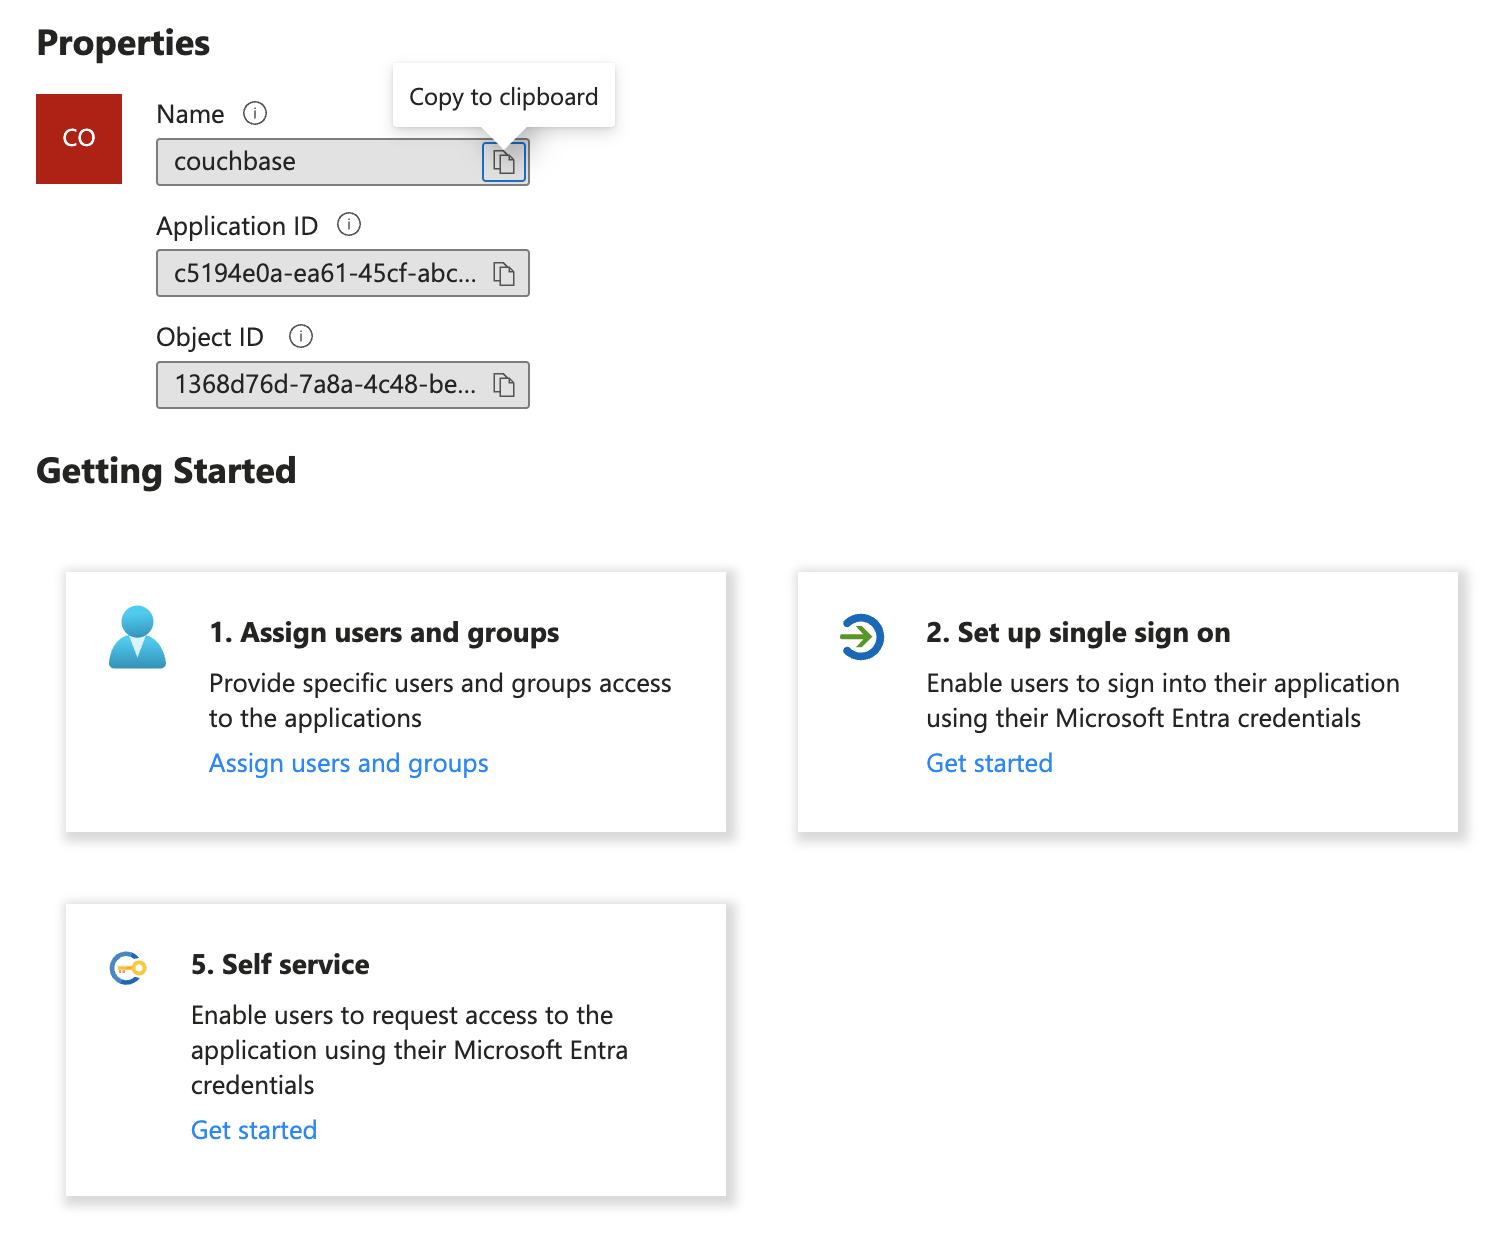
- The newly created application will open, then click on the Set up Single sign-on.
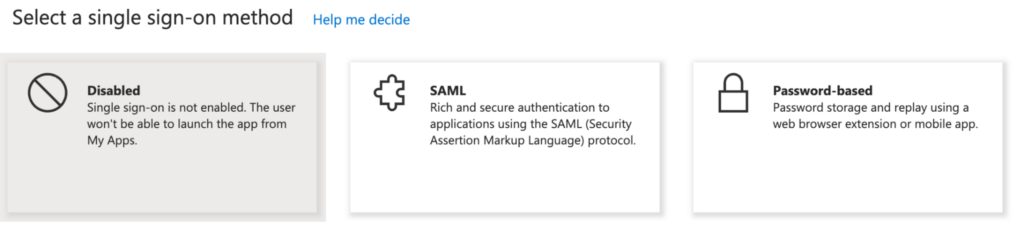
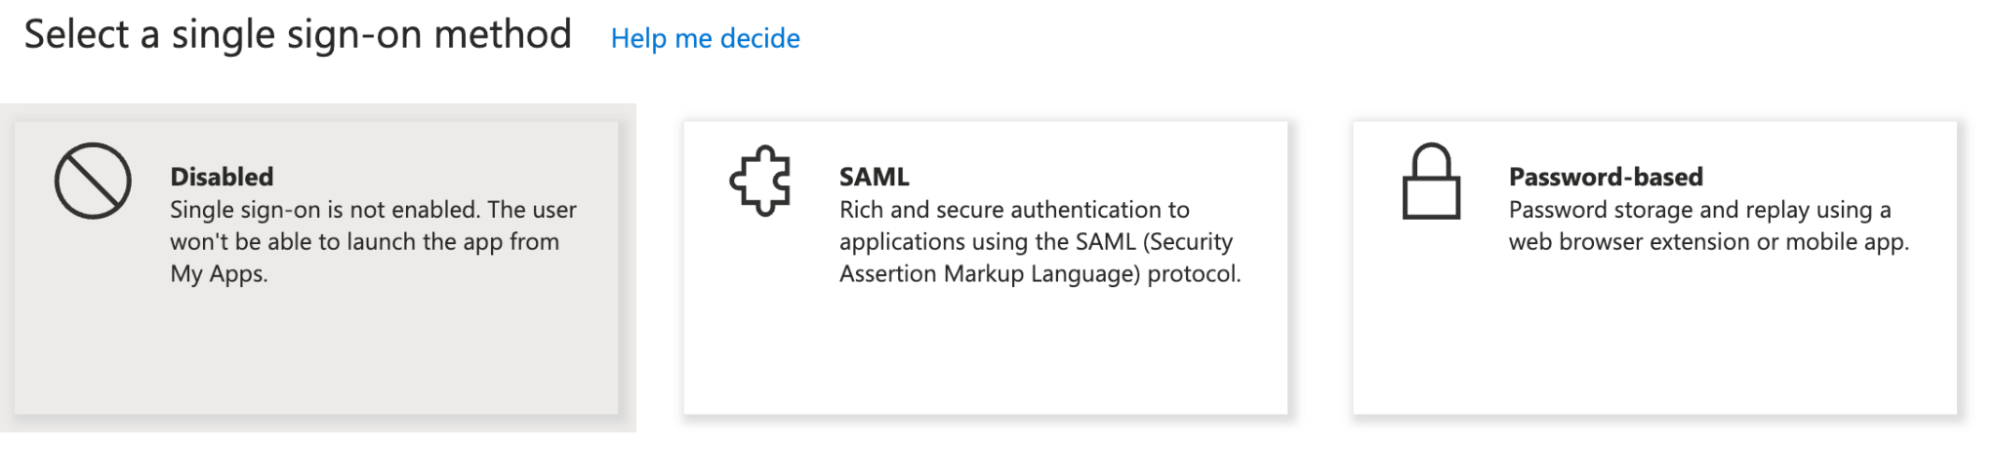
- 선택하세요 SAML option on the Select a single sign-on method screen.
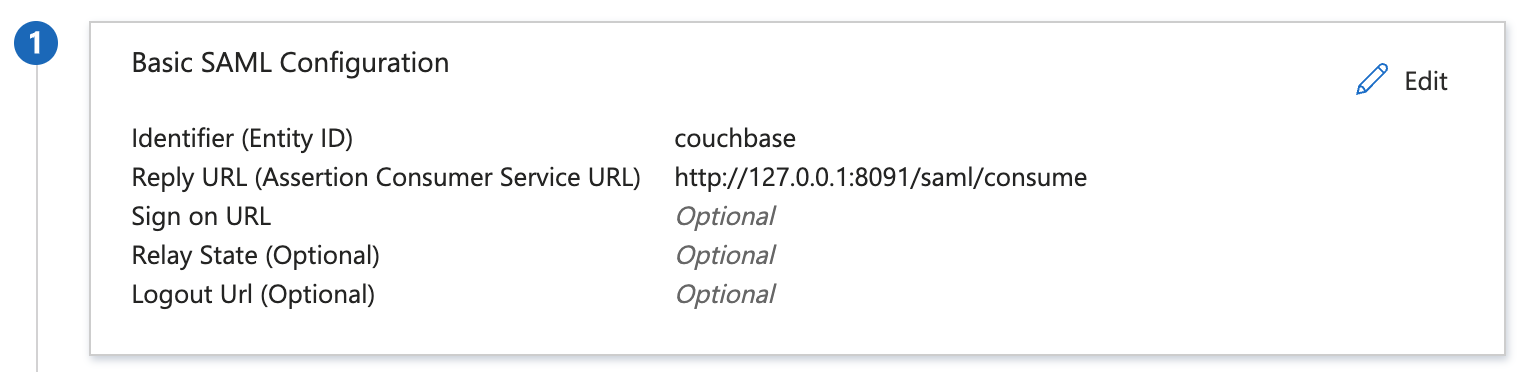
- Under Basic SAML Configuration, you’ll need to fill in the following:
- Identifier (Entity ID): The Entity ID your service provider. For illustration purposes, 카우치베이스 will be used as an example. However, feel free to substitute it with any identifier of your choice.
- Reply URL (Assertion Consumer Service URL): URL where SAML assertions should be sent. I am going to use a placeholder here until the second part of the setup is completed: https://www.mydomain.com.
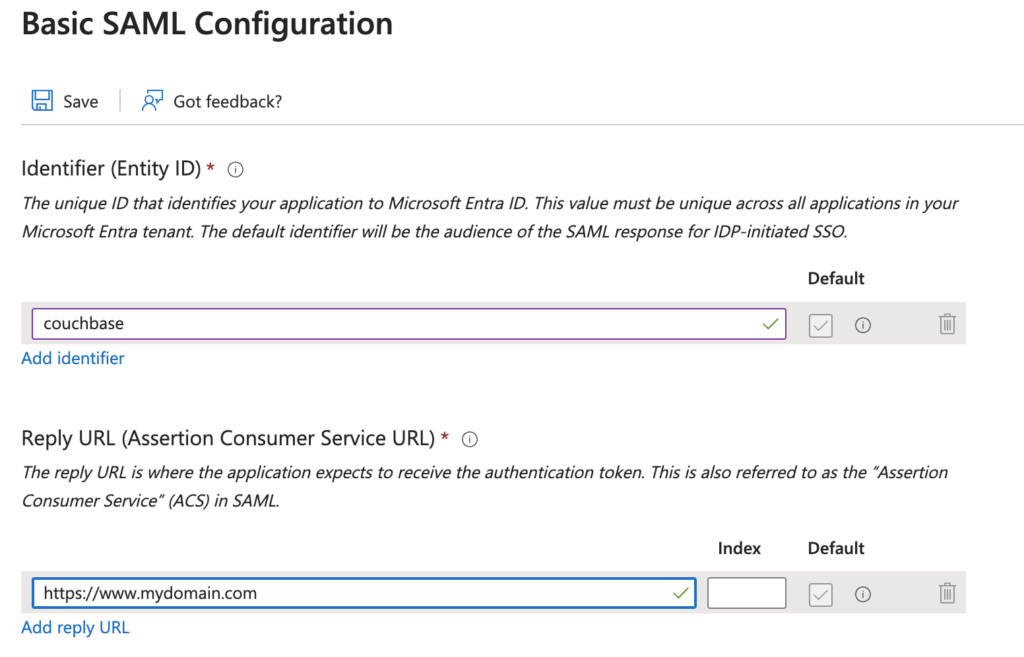
- Save your changes.
Collect SAML Information
Collect the following information:
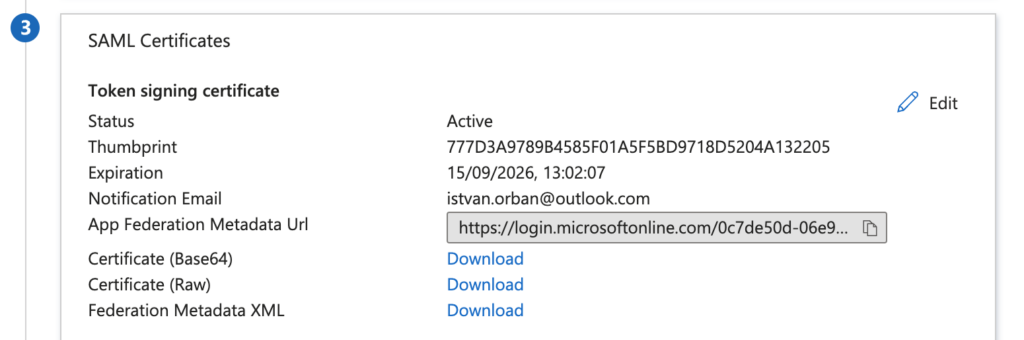
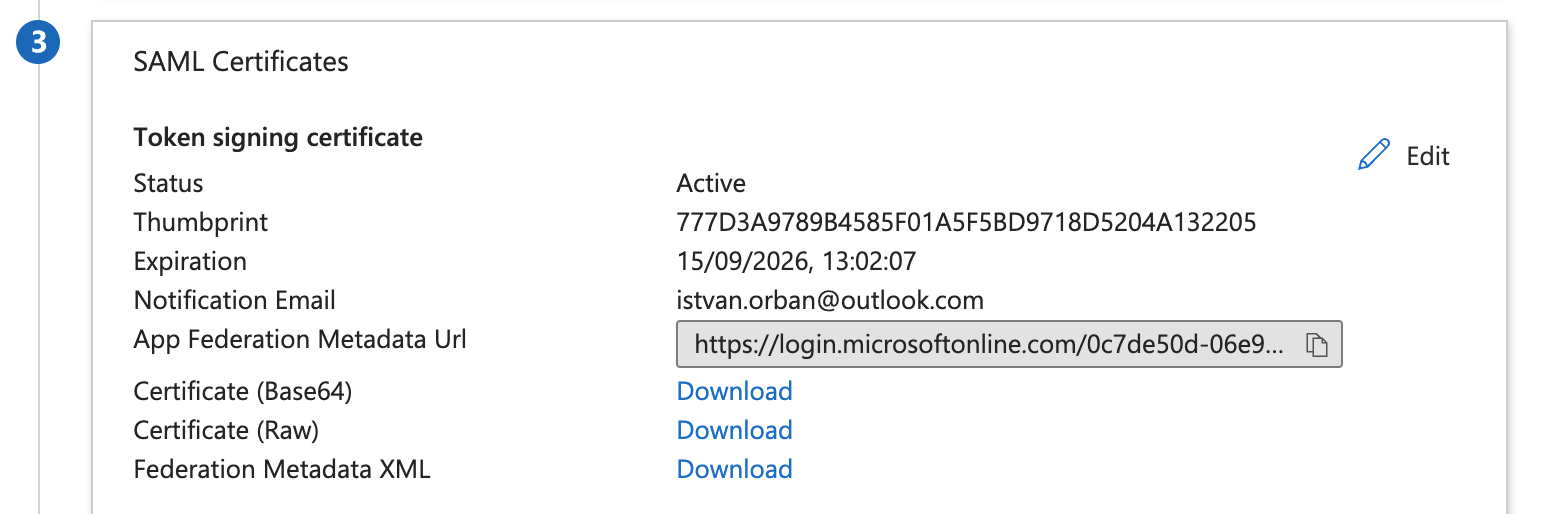
- 다운로드 Certificate (Base64)
- 다운로드 Federation Metadata XML
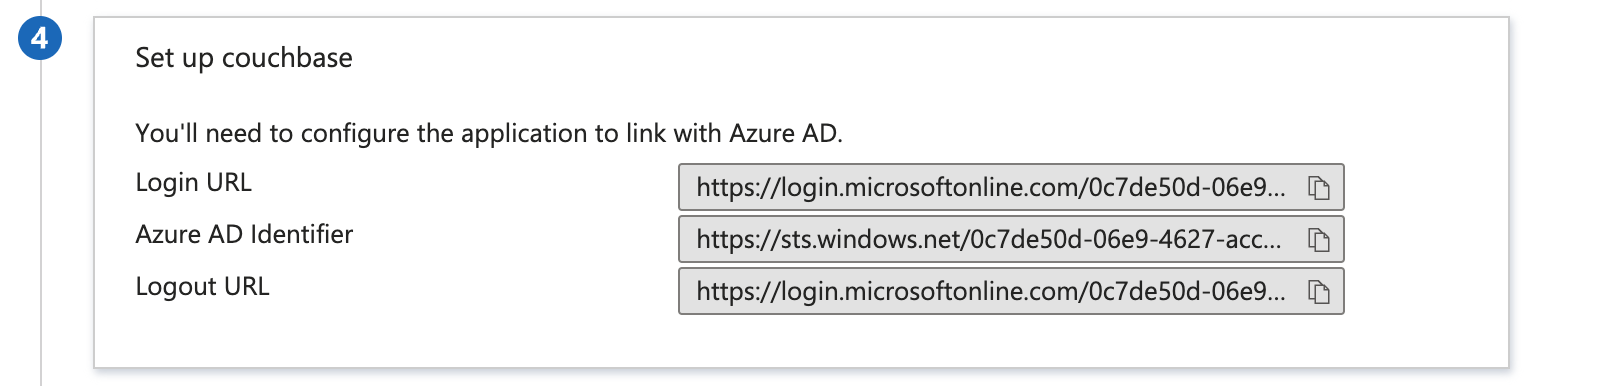
- Login URL: Found on the Section 4 called Set up

Setting up Couchbase as a SAML SP
Configuring the Service Provider
- Login to your Couchbase UI.
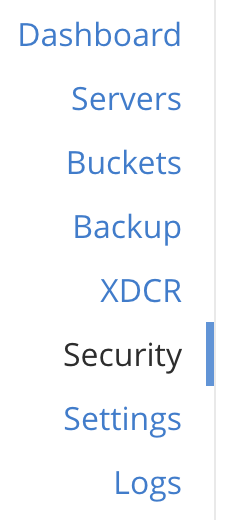
- Select 보안 on the left hand side navigation:
- Click on the SAML tab on the top:

- Enable SAML by clicking on the checkbox.
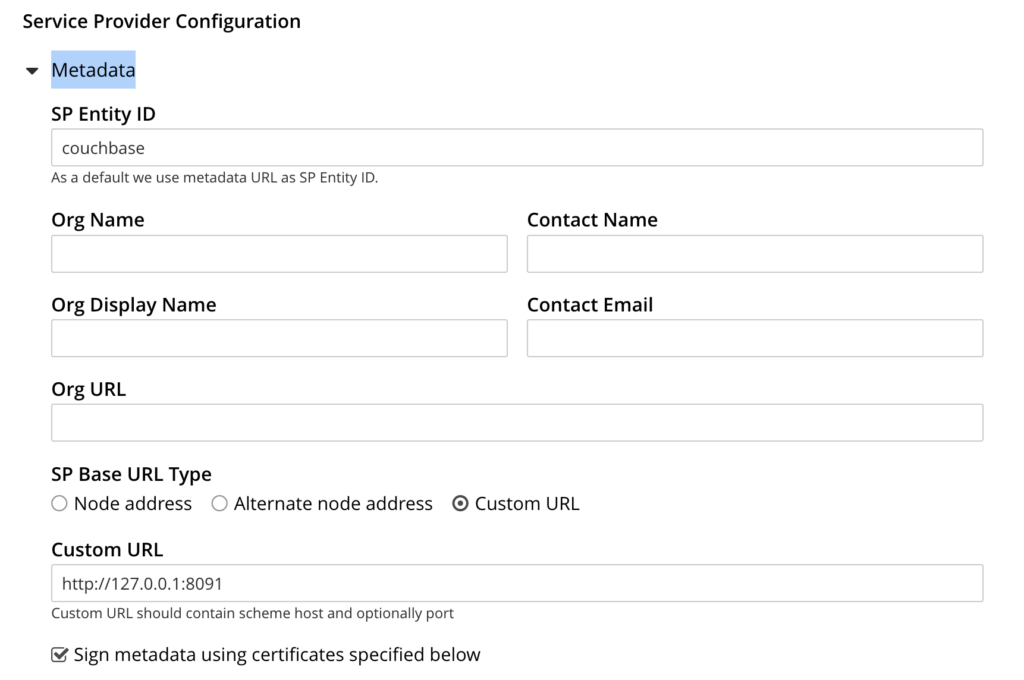
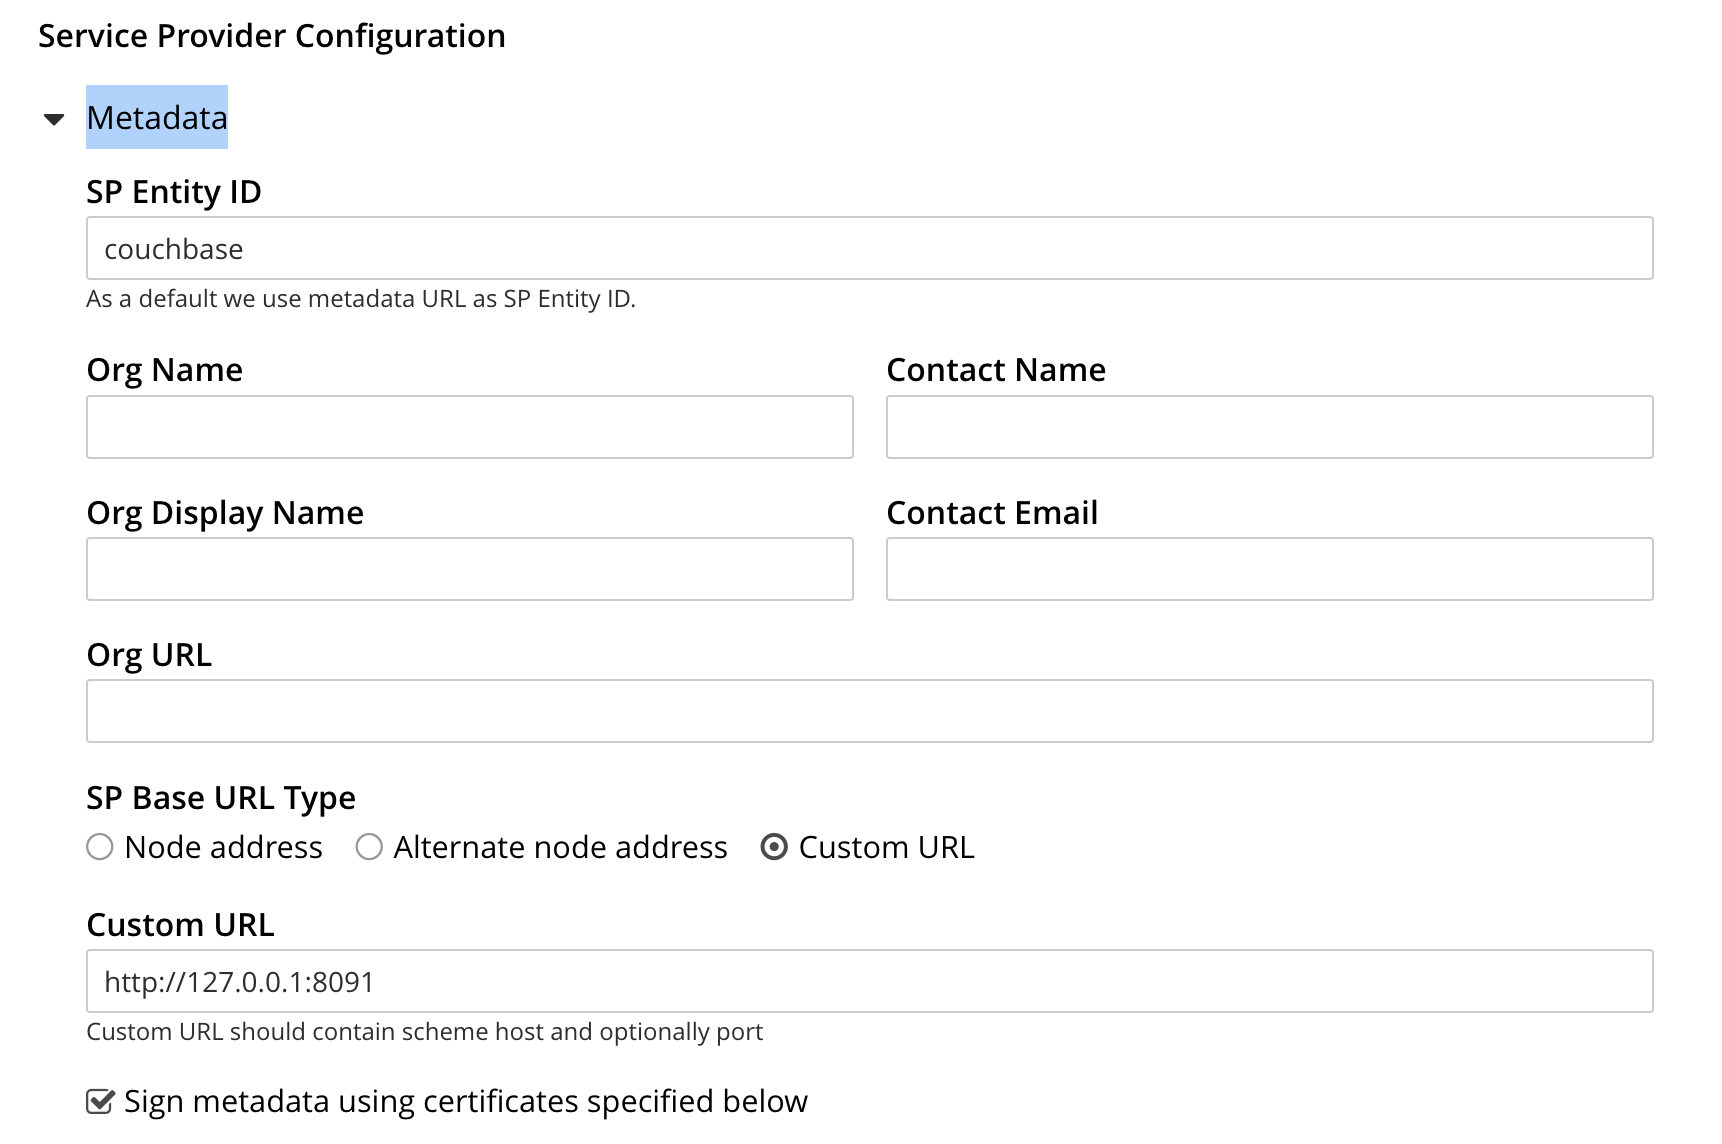
- Open Metadata In the Service Provide Configuration section.
- Input your SP Entity ID: (example: 카우치베이스).
- Select your SP Base URL Type. For example custom URL < https://127.0.0.1:8091.
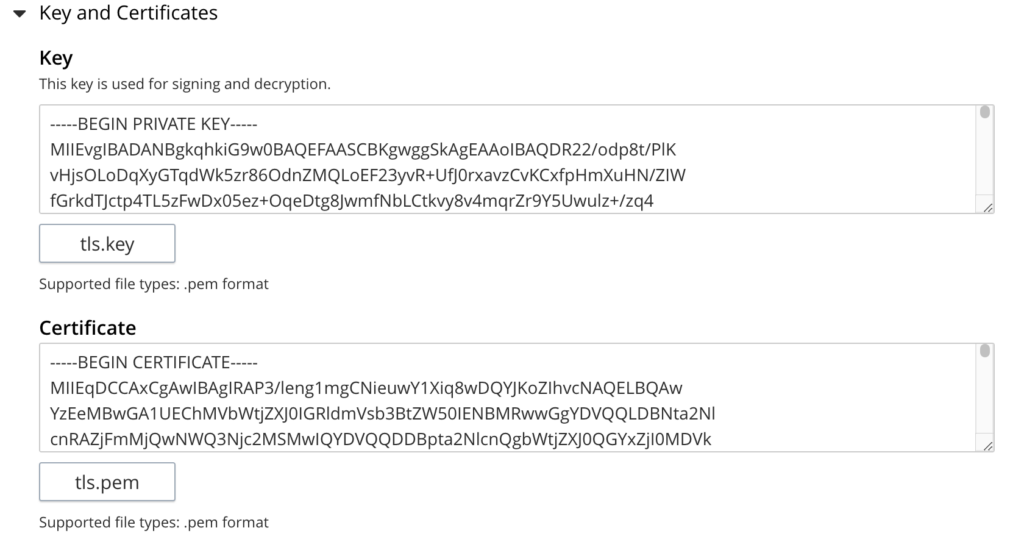
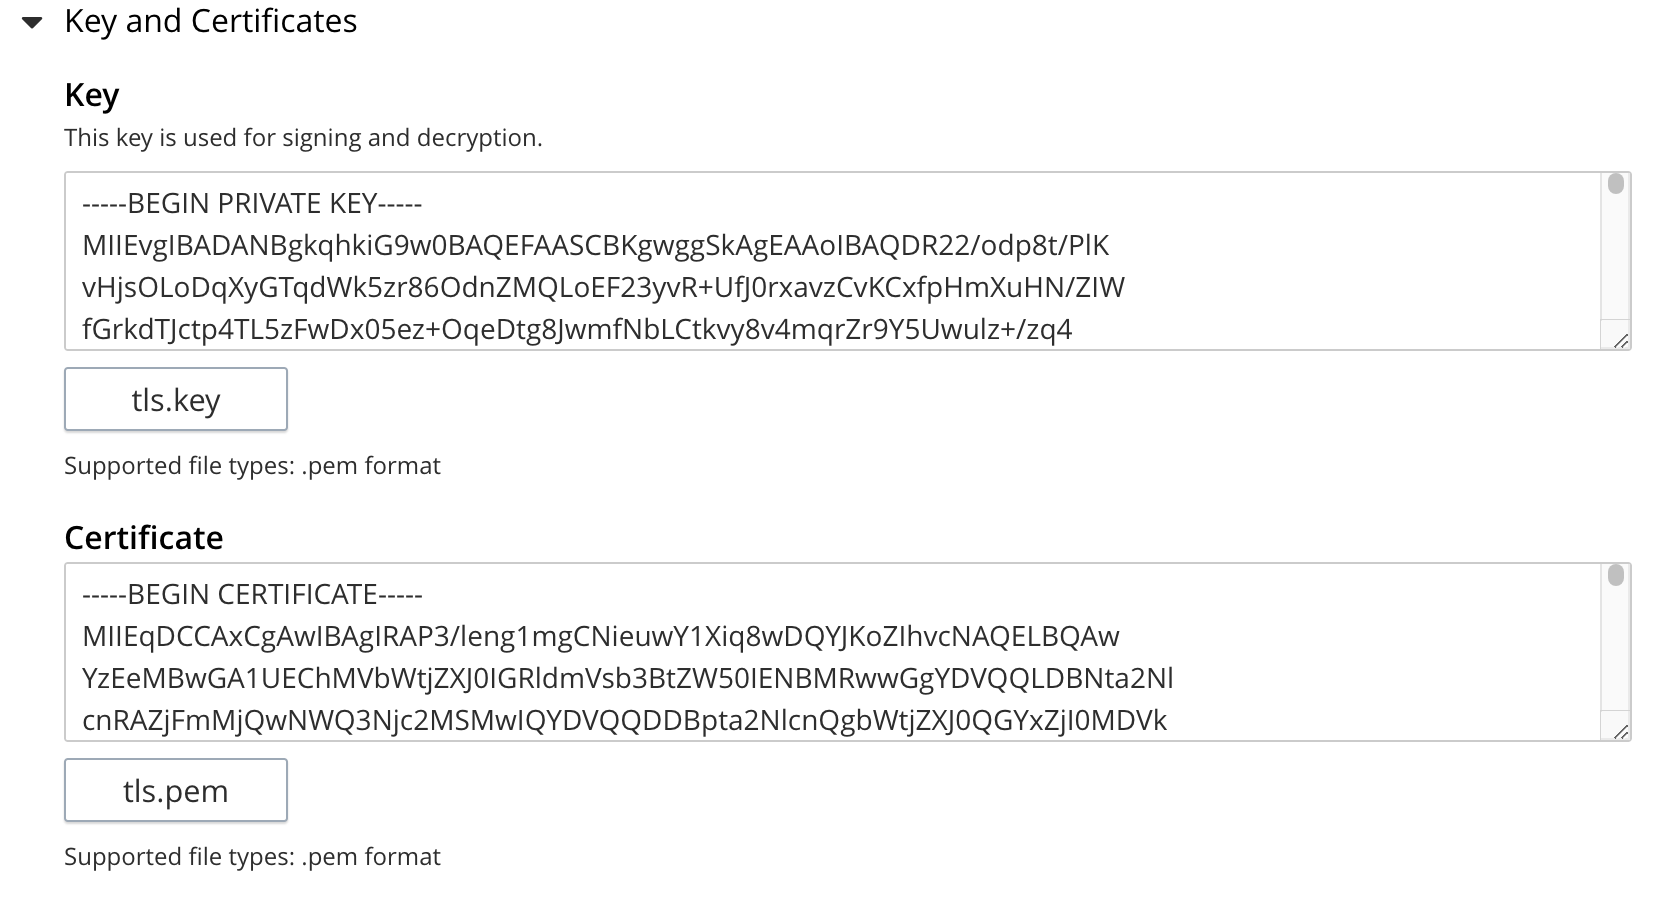
- Open Key and Certificates In the Service Provide Configuration section.
- Upload a Private key and a Certificate that will be used to sign SAML Assertions.
- Upload any intermediate certificates (optional) in the Certificate chain section if needed. They will be passed to the IDP as metadata.

Configuring the Identity Provider
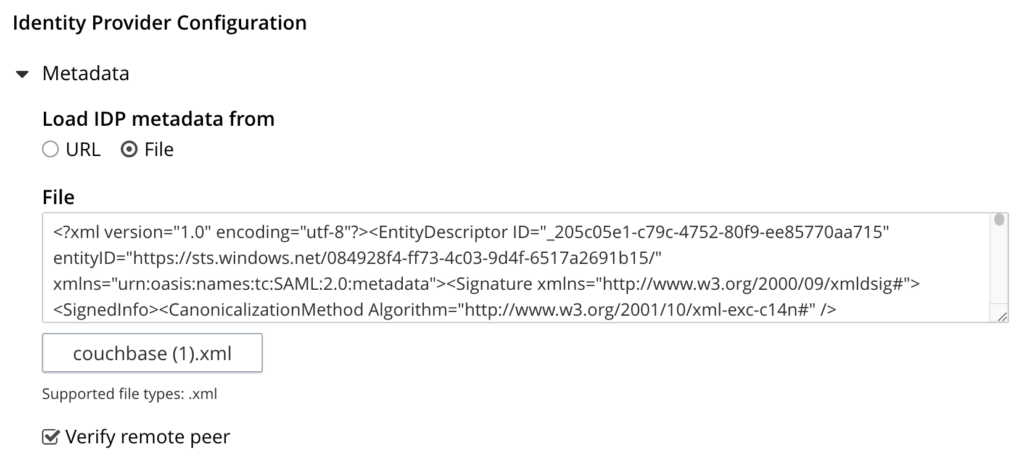
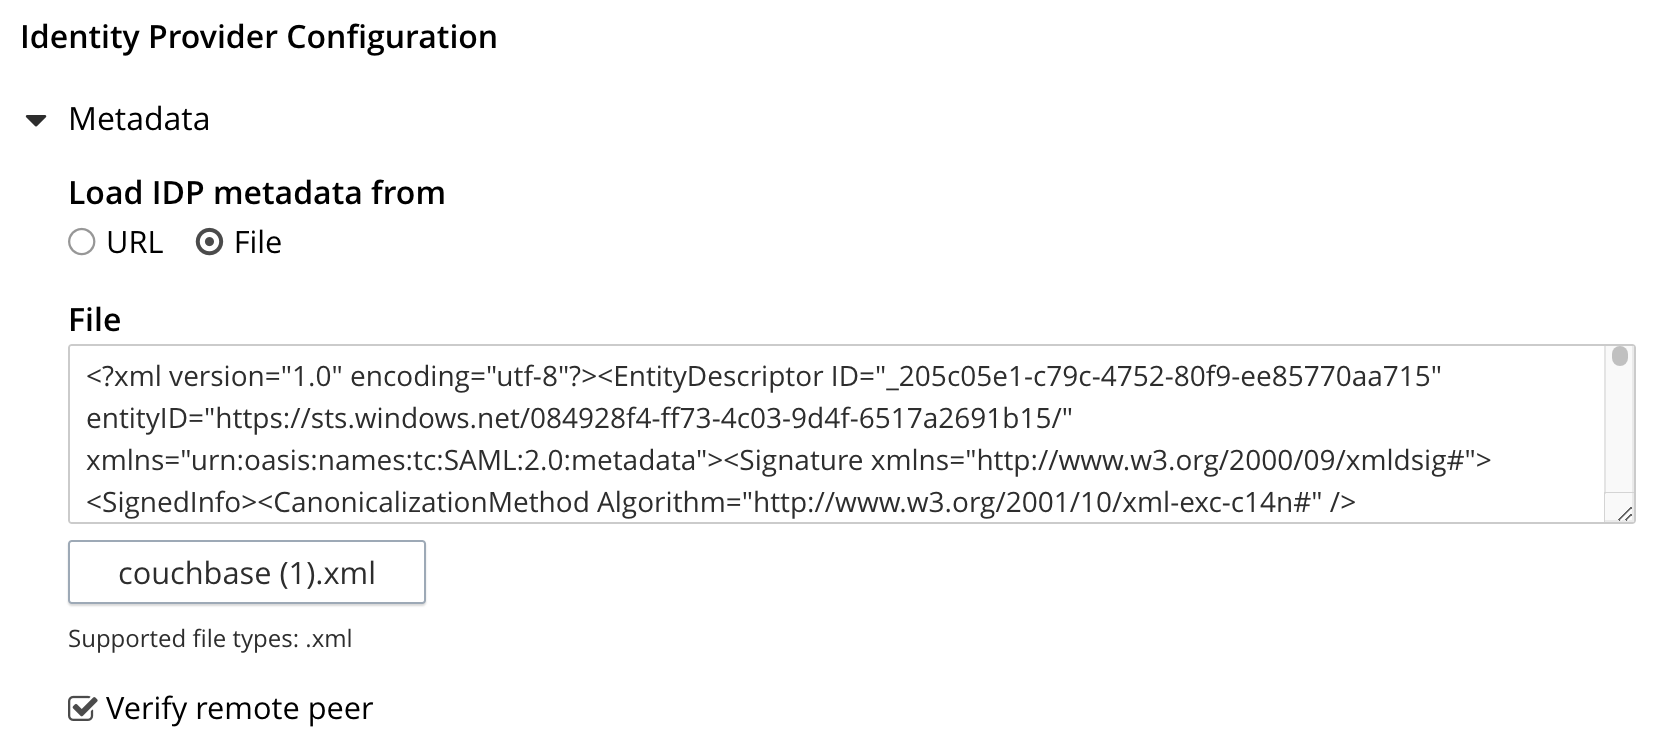
- Open Metadata ~에서 Identity Provider Configuration section.
- Click on the File option in Load IDP metadata from option.
- Click on Select file and upload the metadata XML file you downloaded in the earlier step.
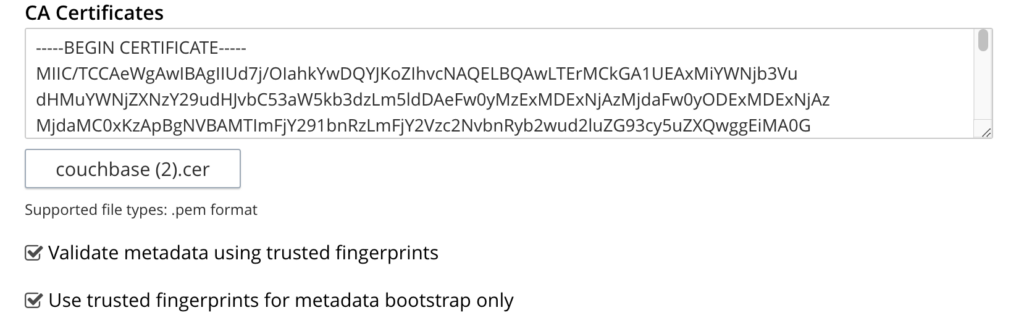
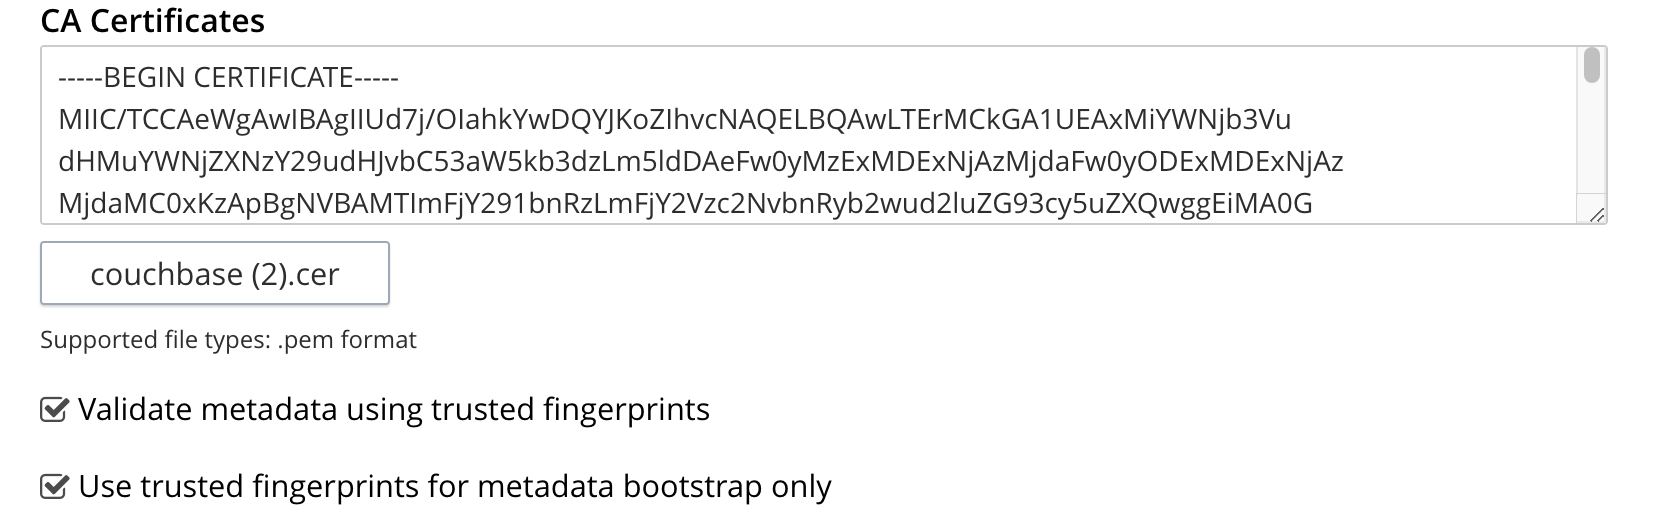
- Also upload the CA certificate you downloaded earlier into the CA Certificates option.
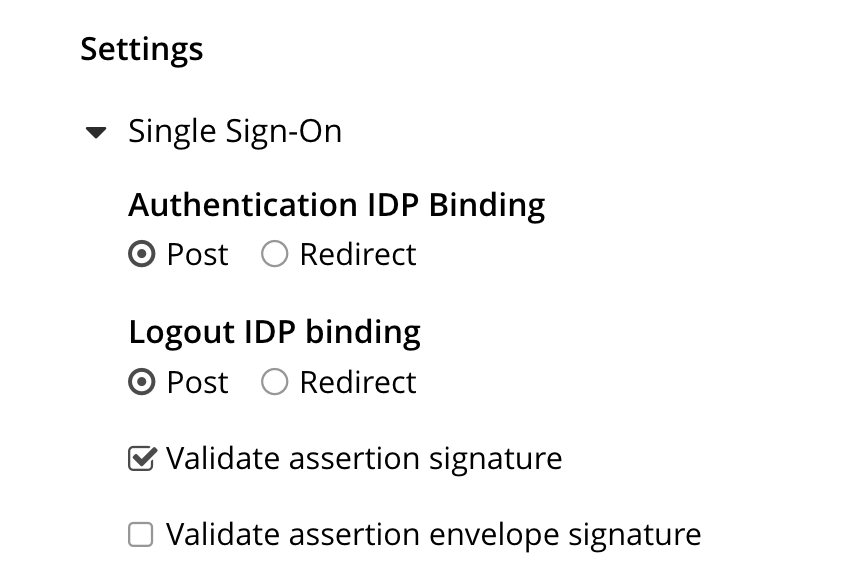
- Open Single Sign-On in the Settings section.
- Make sure the Validate assertion envelope signature is unticked (off).
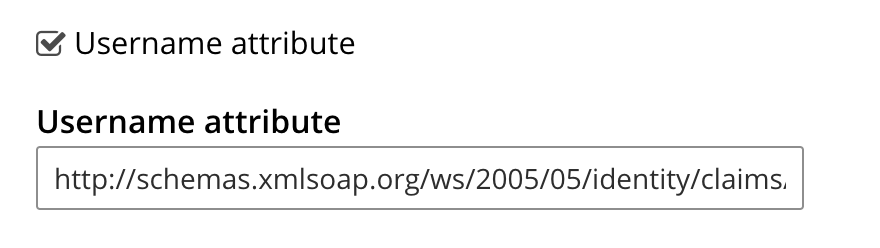
- Enable Username attribute claim handling by ticking the Username attribute checkbox and fill in the following attribute name:
- Make sure you configure group and roles claim handling as well, the exact details of this is outside of the scope of this guide.
- 클릭 SAVE.
Collect SP Metadata Information
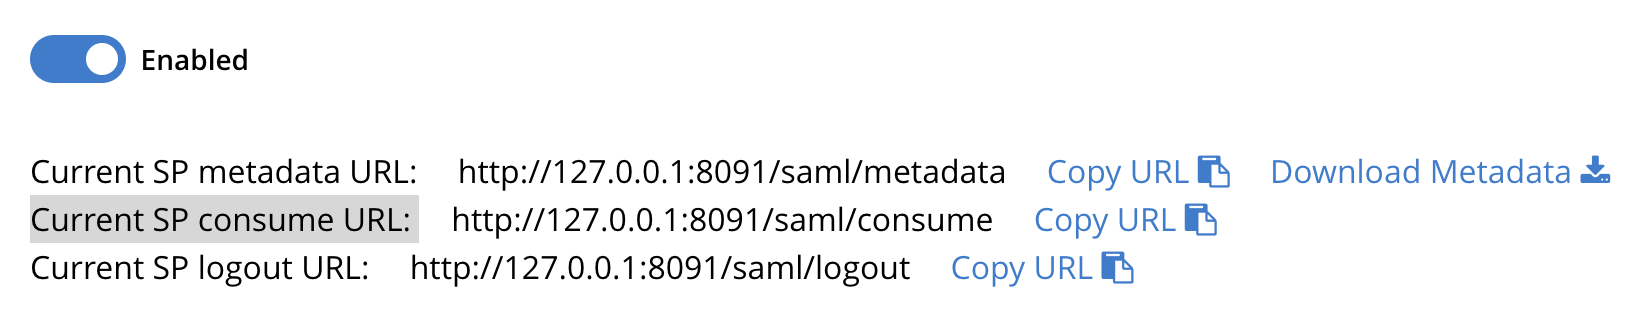
Having successfully saved the SAML settings, the next step is to scroll up to the top of the SAML Configuration page and collect the following information:
- Current SP consume URL: click on the Copy URL link
Finish Setting Up Microsoft Entra
Go back to Azure and open the Set up Single Sign-on with SAML section of the Enterprise application we have just created.
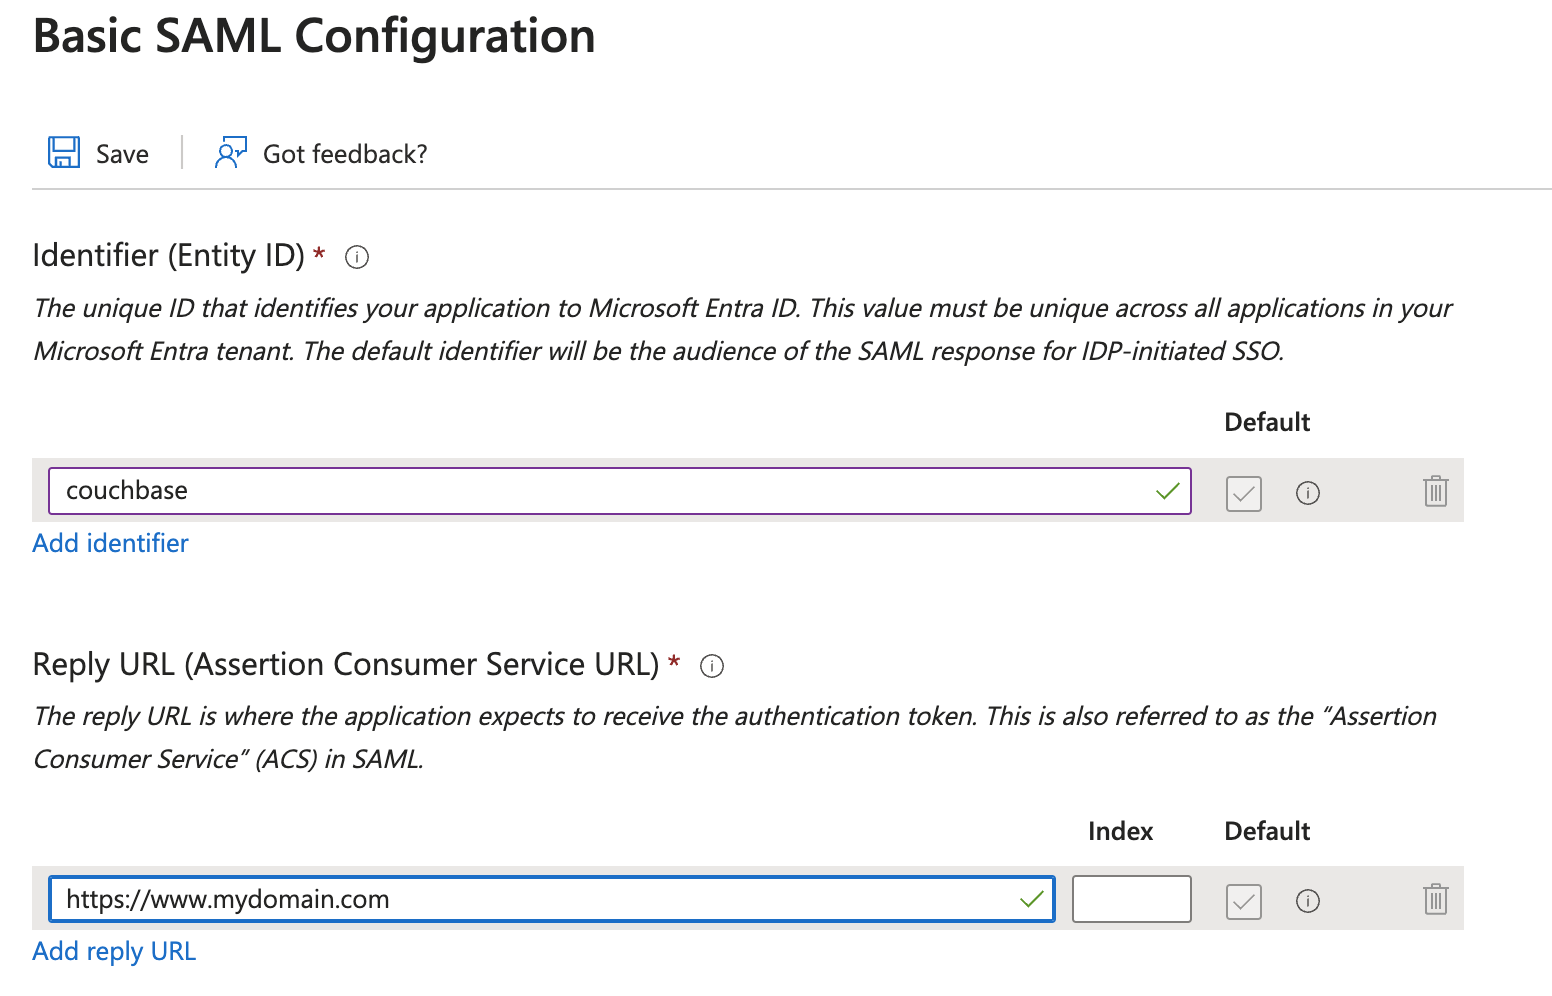
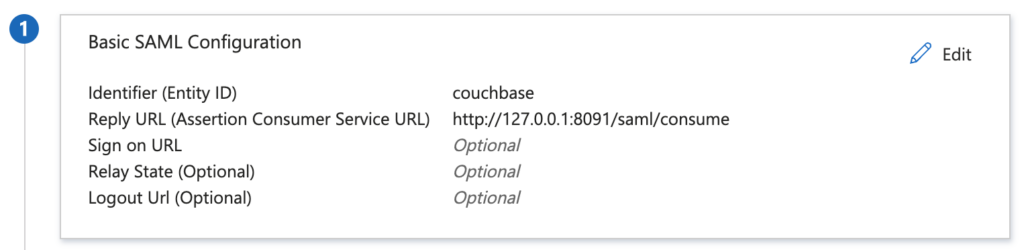
- Under Basic SAML Configuration, you’ll need to change the following:
- Reply URL (Assertion Consumer Service URL). Paste the URL of the Current SP consume URL:
- Reply URL (Assertion Consumer Service URL). Paste the URL of the Current SP consume URL:
- Make sure you assign Users to this application. It is important that you assign users in the Microsoft Entra application so that you can test a user login.
Mapping Entra Users to Couchbase Server Users
After successfully configuring Microsoft Entra as your Identity Provider (IdP) and Couchbase Server as the Service Provider (SP), the next step is to ensure that user attributes are correctly mapped between them.
User to User Mapping
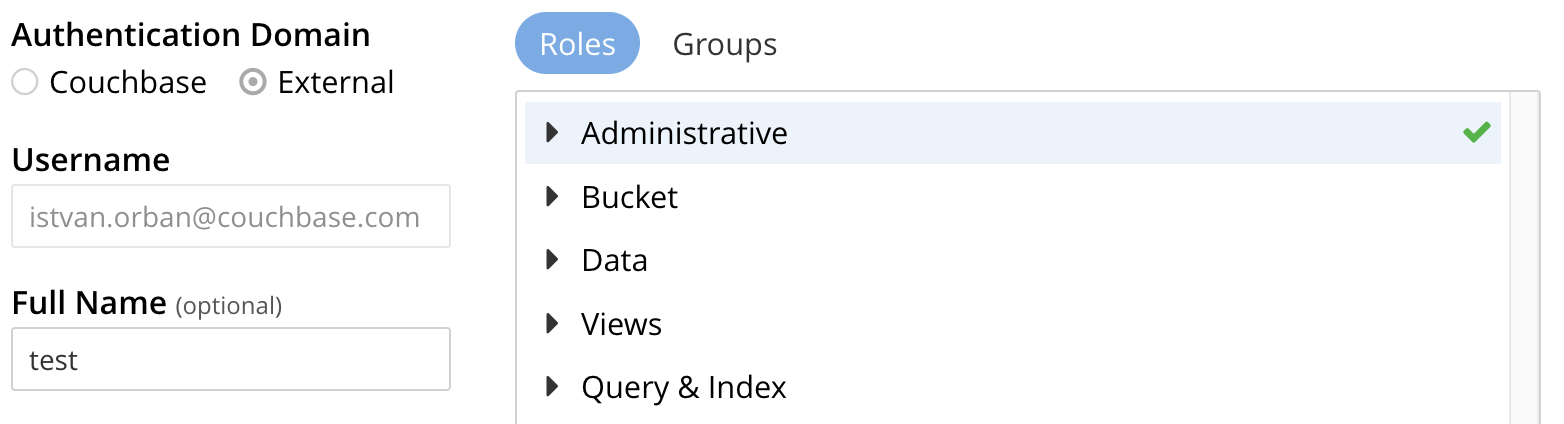
The most simple way to map users is to create external users in Couchbase Server that match the users in Entra. In this example I did just that.
- Find an email in Entra: Go back to your Microsoft Entra Application and find the email address of a user you assigned to this application. We are going to use this user later on to test the integration.
- Open Couchbase Server UI: Open Couchbase Server UI.
- Click on Security: On the left you can find the security link.
- Open the Users tab: On the top you will find the Users & Groups tab click on that to list the users in Couchbase Server.

- Add user: Click on the Add user button on the top right corner.
- External user: You need to make sure you set up your user as External – see our documentation for more details.
- Fill in username: You copy the Entra email address into this field.

- Set up roles: On the right hand side you need to select the exact roles your user should have.
- Set up Groups: (Optional) You can also add your external user to any Couchbase Server groups you specified earlier.

테스트 중
- Open your Couchbase UI in an incognito window.
- Notice the new button called Sign in Using SSO:
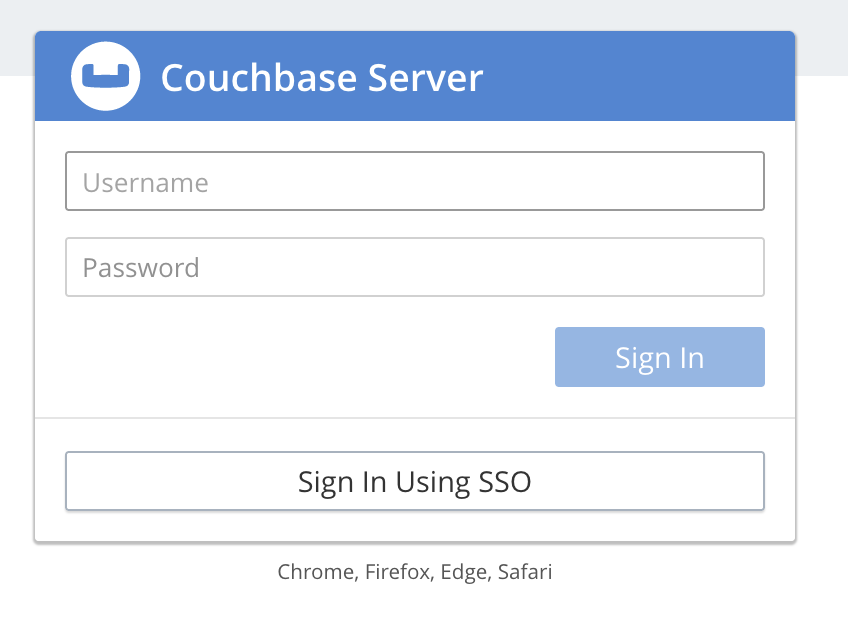
- Click on Sign In Using SSO.
- You will be redirected to Microsoft Entra to login.
Congratulations! If you’ve followed along with this comprehensive guide, you should now have a fully functional SAML-based Single Sign-On (SSO) between Microsoft Entra and Couchbase Server.
We’ve walked through the essential steps to set up this connection, and I hope you find this guide useful. If you encounter any challenges or have further questions, feel free to reach out through our support channels.
Troubleshooting
| Access denied for user “username@domain.com”: Insufficient Permissions | This means that the external user does not have any roles in Couchbase. You need to either map group or roles claims and configure roles in Couchbase or alternatively you can create an external user using the Couchbase UI and assign roles to that user manually. See our security documentation for more detail. |

댓글 남기기
댓글을 달기 위해서는 로그인해야합니다.