
In today’s fast-paced world, data security is of utmost importance, especially when dealing with sensitive information. A key component of data security is authentication, which protects data from being stolen. HashiCorp Vault is one of the technologies that can help businesses further secure access to their Couchbase database.
How can HashiCorp help me to further increase my database security?
HashiCorp Vault can securely store and manage database credentials, such as usernames and passwords, and dynamically generate new ones when they are needed. This reduces the risk of accidental or intentional credential exposure and makes it easier to revoke or rotate credentials when they are no longer needed.
Vault can also provide detailed audit logs of all database access and credential use, which can help organizations comply with various regulatory requirements and monitor for suspicious activity.
In this tutorial blog post, we will look at how to integrate Couchbase Server with HashiCorp Vault.
Step 1: Setting up Vault
The first step is to set up a HashiCorp Vault instance. You can download the Vault binary from the official website, you can use a package manager like Homebrew or Chocolatey or you can run Vault using Docker. In this blog post we will use Docker to set up the environment.
- Set up the Docker network
|
1 |
도커 network 만들다 dev_couchbase |
- Start Vault in a Docker container. To start Vault in developer mode with a root password of 비밀번호, simply use the command below.
|
1 2 3 4 5 6 7 |
도커 실행 —모자–추가=IPC_LOCK —이름=“couchbase_vault” —rm —network 개발자_카우치베이스 –e VAULT_DEV_ROOT_TOKEN_ID=비밀번호 –e 볼트_개발_리스닝_주소=0.0.0.0:8200 –e VAULT_ADDR=https://0.0.0.0:8200 –p 8200:8200 금고 서버 –개발자 |
The above Docker command starts the Vault server in development mode, which is not recommended for production use. It creates an in-memory data store that is wiped out when the server is shut down. However, it is perfect for testing purposes.
The vault UI is running at https://localhost:8200.
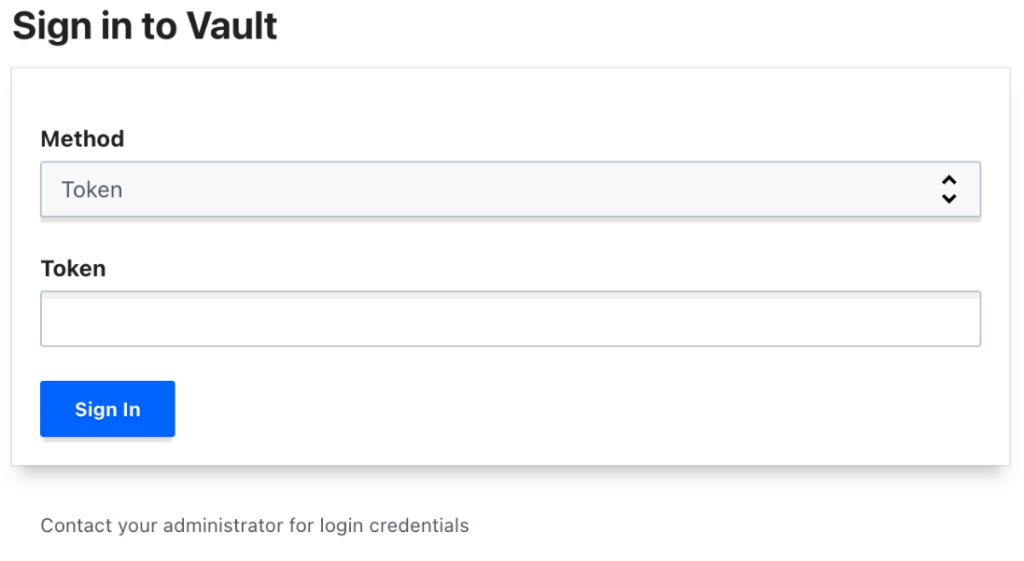
You can use a “password” as a token to login into the Vault UI as we specified that to be the root token.
Step 2: Checking the configuration of Vault
Once the Vault server is up and running, you need to make sure that the Couchbase database plugin is installed.
Run the following command to check if the plugin is installed:
|
1 |
도커 exec –그것 “couchbase_vault” /bin/ash –c “vault login password && vault plugin list” | grep 카우치베이스 |
Please note: in the earlier command, we named the container couchbase_vault, using the command above executes vault commands inside the container running HashiCorp Vault.
The output of this command should list the couchbase plugin:
|
1 |
카우치베이스–데이터베이스–플러그인 데이터베이스 v0.9.0+builtin |
If you would like to experiment with Vault you can use the command below to open a shell inside the container running Vault:
|
1 |
도커 exec –그것 “couchbase_vault” /bin/ash |
You can authenticate with the root token we set up earlier:
|
1 |
금고 login 비밀번호 |
If you are not familiar with Vault make sure you check out the commands documentation.
Step 3: Start a demo Couchbase server
Open a new terminal window and run the following command to start Couchbase:
|
1 2 3 4 5 6 7 8 9 10 11 |
도커 실행 –그것 —rm —network 개발자_카우치베이스 —이름=“couchbase_main” –e COUCHBASE_USERNAME=관리자 –e COUCHBASE_PASSWORD=비밀번호 –w /opt/카우치베이스 –p 8091–8094:8091–8094 –p 11210:11210 –p 18091–18094:18091–18094 —health–cmd “curl –fail https://localhost:8091/ui/index.html || exit 1” —health–interval=5s —health–시간 초과=3s —health–retries=10 —health–start–period=5s 카우치베이스/서버:7.1.3 |
Step 4: Configure Couchbase Server
Open a third terminal. We will use this to execute Docker commands to configure Vault and Couchbase in the next steps.
- Initialize our Couchbase cluster
|
1 2 3 4 5 6 7 8 9 10 11 |
도커 exec –그것 카우치베이스_메인 ./bin/카우치베이스–cli 클러스터–초기화 –c 카우치베이스://127.0.0.1 —클러스터–이름 카우치베이스–playground —클러스터–사용자 이름 관리자 —클러스터–비밀번호 비밀번호 —services 데이터,색인,질의,fts —클러스터–ramsize 2048 —클러스터–색인–ramsize 512 —색인–저장소–setting 기본값 —node–-로–node–encryption off |
- Import some sample data
|
1 2 3 4 |
도커 exec –그것 카우치베이스_메인 curl –v https://localhost:8091/sampleBuckets/install –u 관리자:비밀번호 –d ‘[“gamesim-sample”,”travel-sample”, “beer-sample”]’ |
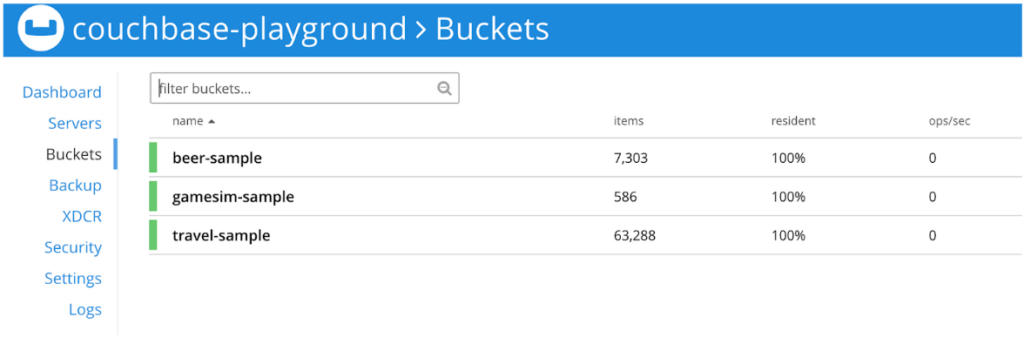
It is time to inspect our cluster using the UI. You can open the 콘솔 at https://localhost:8091 and use 관리자 as username and 비밀번호 as password to log in.
Step 5: Creating a Couchbase Server user
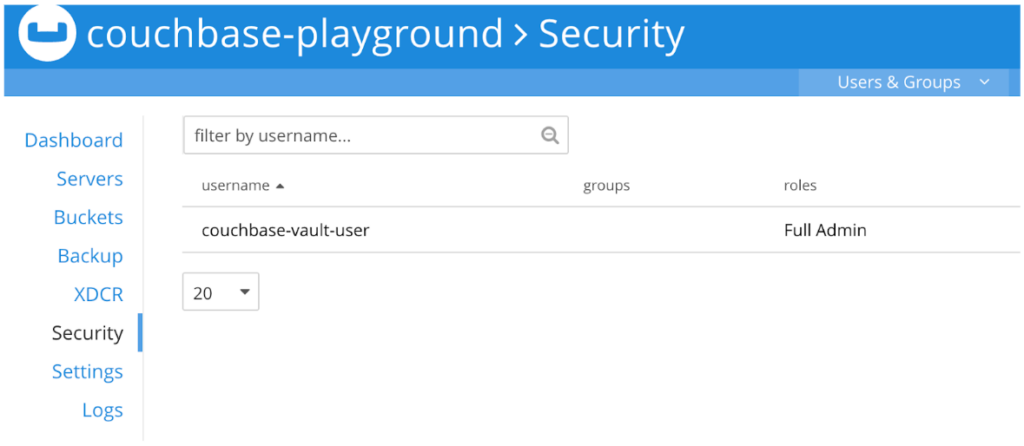
Now that the Vault is configured, and Couchbase Server is running, we need to create a Couchbase user. This user will be used by the Couchbase Vault plugin to access Couchbase Server and to create users on demand.
|
1 2 3 4 5 6 7 8 9 10 |
도커 exec –그것 카우치베이스_메인 ./bin/카우치베이스–cli 사용자–manage —클러스터 https://127.0.0.1 —사용자 이름 관리자 —비밀번호 비밀번호 —설정 —rbac–사용자 이름 카우치베이스–금고–사용자 —rbac–비밀번호 비밀번호 —roles admin —auth–domain 로컬 |
Once the user is created, it will show up as a user in the UI as well:
Step 6: Integrating Vault and Couchbase Server
Now that both Vault and Couchbase Server are configured, we need to integrate them. Follow these steps:
- Enable Vault’s database engine
0
- Initialize the Couchbase Server plugin
1
Let me explain the command above a little bit more in detail.
- 사용하여 Wget we download the certificate from Couchbase Server as we need it later on.
- Login into Vault with vault login.
- Create a demo-db configuration using the couchbase-database-plugin. We need to specify our Couchbase server and a user (couchbase-vault-user) to connect to it.
Please note: we specified allowed_roles to be * which is not recommended in production as it will permit the creation of a Couchbase user with any available roles.
- Rotate the password of the couchbase user
Since we used a very insecure password to set up the connection between Couchbase Server and Vault, it is important to change the password by executing the command below:
2
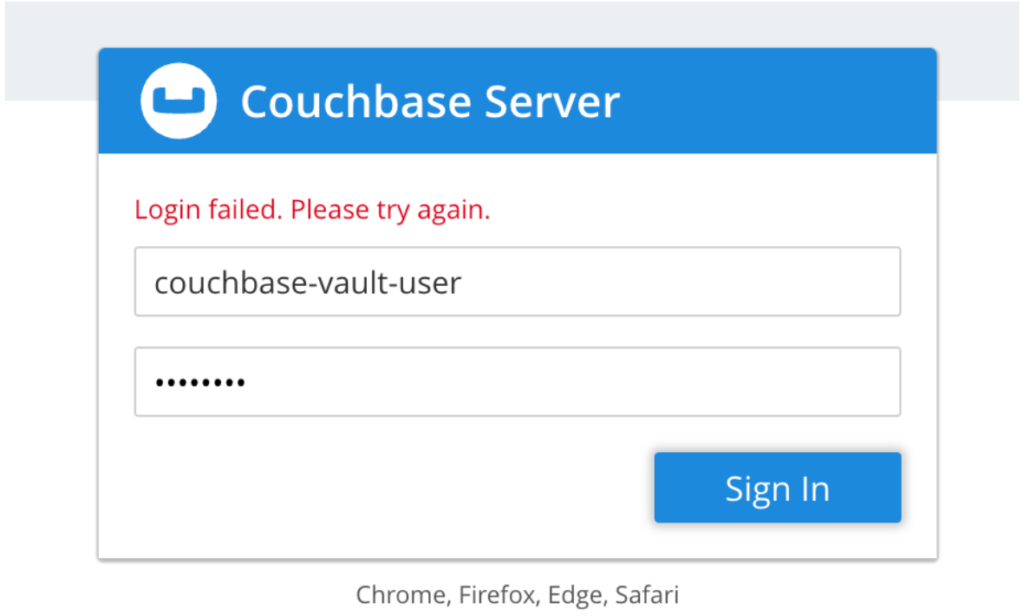
Lets validate that the password indeed has been changed. We can do this by trying to log in as couchbase-vault-user using the Couchbase UI.
You should see an error message Login failed. This confirms that Vault was able to rotate the password of the user that Vault uses to talk to Couchbase Server:
Step 7: Create a demo Vault policy
Finally we need to create a Vault policy. Use the command vault policy. This policy will be used to create new users in Couchbase
The command below will create a HashiCorp Vault role that can create users with ro_admin roles in Couchbase.
3
Step 8: Testing the Integration
Now that the integration is complete, we can test it. Follow these steps:
- Create a user
4
If all configured properly you should see a new user created like the one below:
5
You can now use this user to log into Couchbase or use the UI to see if the user indeed exists:
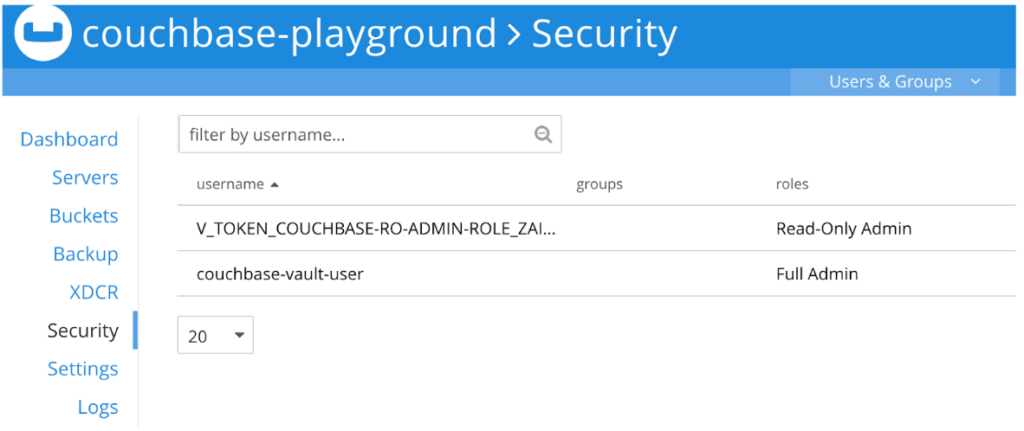
Please note: This user has a five minute lease. If you wait five minutes then the user will be deprovisioned by Vault automatically. You can use Vault to extend the lease or to create a new user. For further information consult Vault’s documentation.
결론
Integrating Couchbase Server with HashiCorp Vault is a great way to secure access to your data. In this blog post, we have seen how to do just that. By following the steps outlined above, you can easily integrate Couchbase Server with HashiCorp Vault.
Keeping in mind the steps we’ve outlined are intended solely for testing and demonstrations, it is crucial to understand that when it comes to secure production deployments, adhering to industry best practices is paramount. To guarantee that both your Vault and Couchbase server are appropriately configured and fortified, which falls beyond the scope of this article, we strongly advise following these recommended practices.
There are a few things to consider when you create user accounts in Couchbase. User creation is asynchronous in ns_server. It will only be 100% available on the node in which the request was made and then they are created on the other nodes asynchronously. As an example, if you were to create a user every minute and delete it, you would reach 525600 deleted users in a year which is still safe for many years. Just keep in mind that creating millions of users could have an impact on your cluster’s user creation performance and creating many millions of users is beyond anything we have tested so far.

댓글 남기기
댓글을 달기 위해서는 로그인해야합니다.